
Green Machine - 1976 BMW R90/6
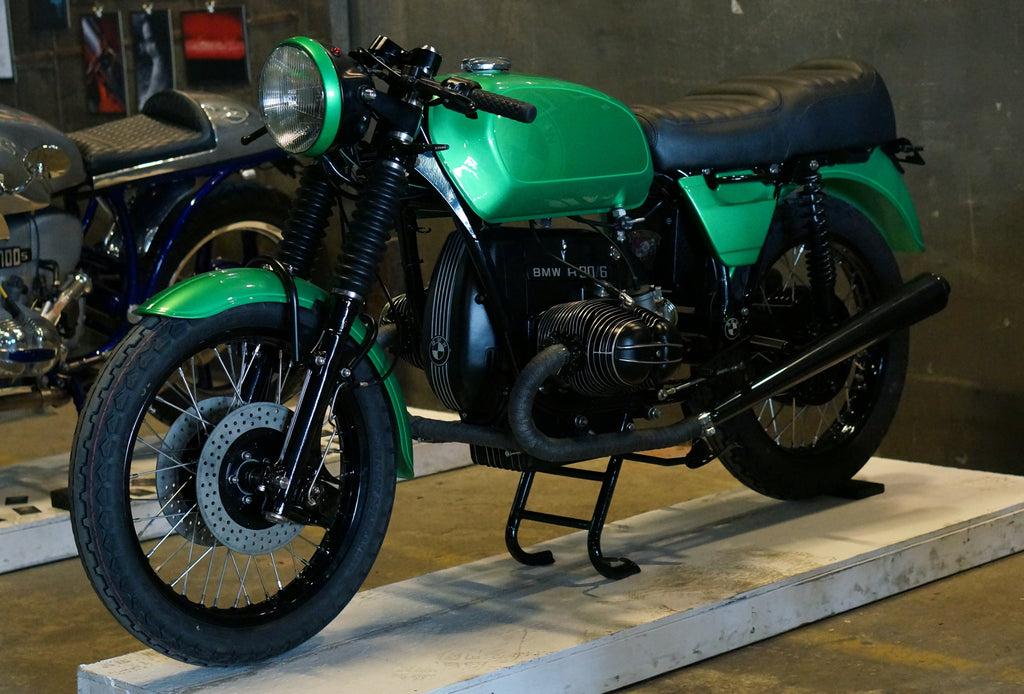
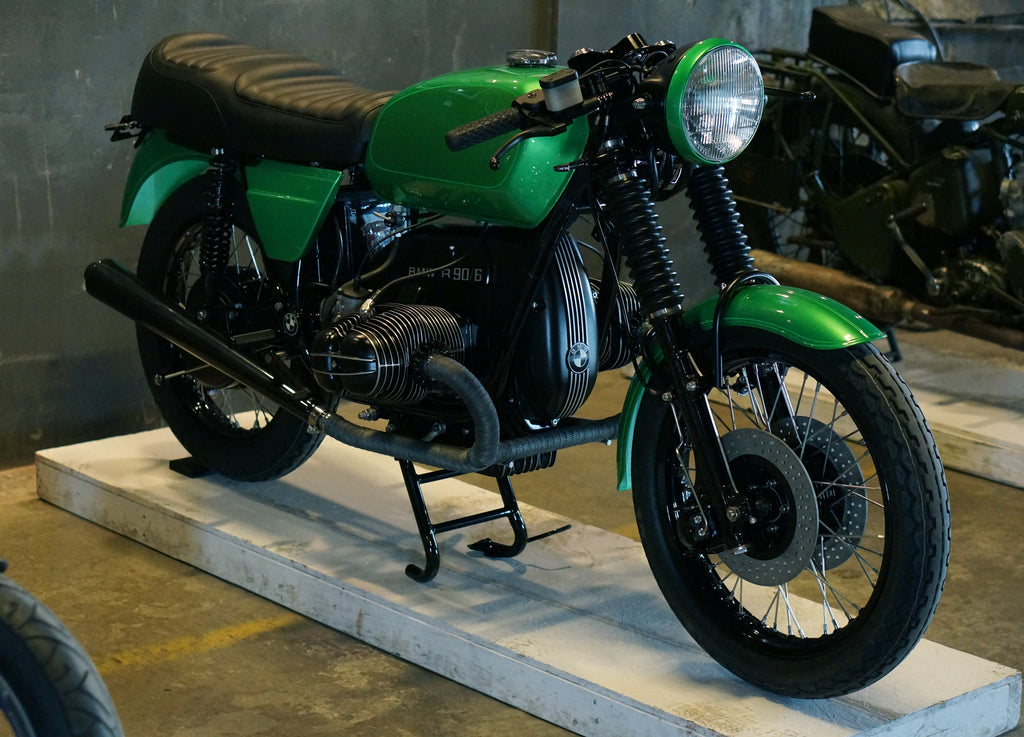
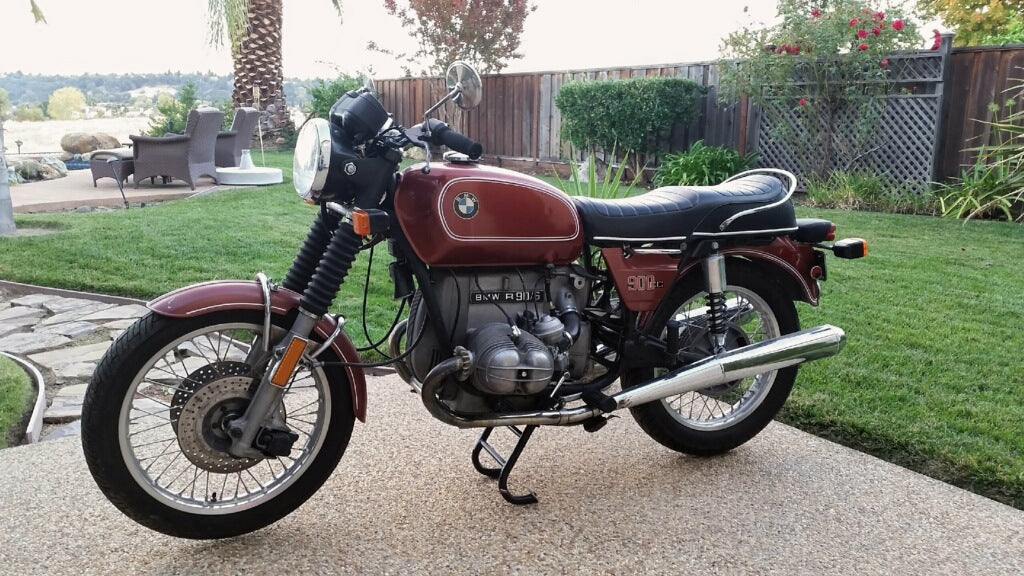
Project Green Machine shows off its original style here. This bike served many years as a highway commuter in San Francisco, California!

All ready for disassembly and complete makeover! Green Machine is a collaboration between Dan Rodarte of Gold Country Cafe Racers out of California (look them up on facebook) and Ryan Smith from BOSS MOTO.
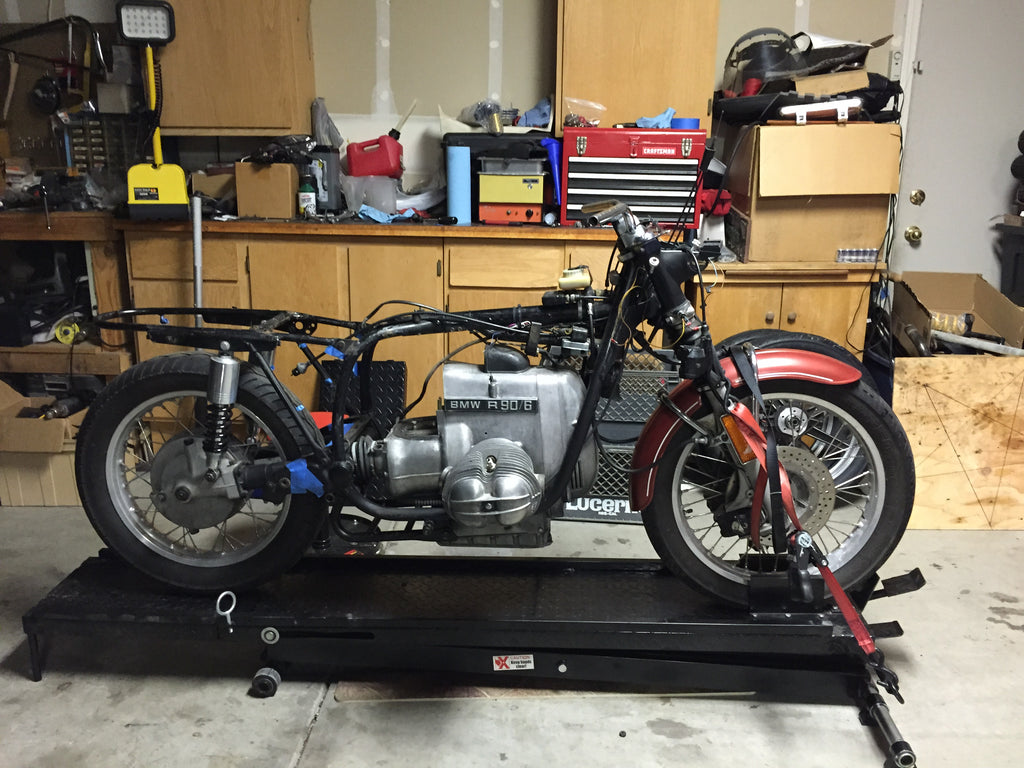
Gas Tank, Rear Fender, Headlight, and other components are removed!
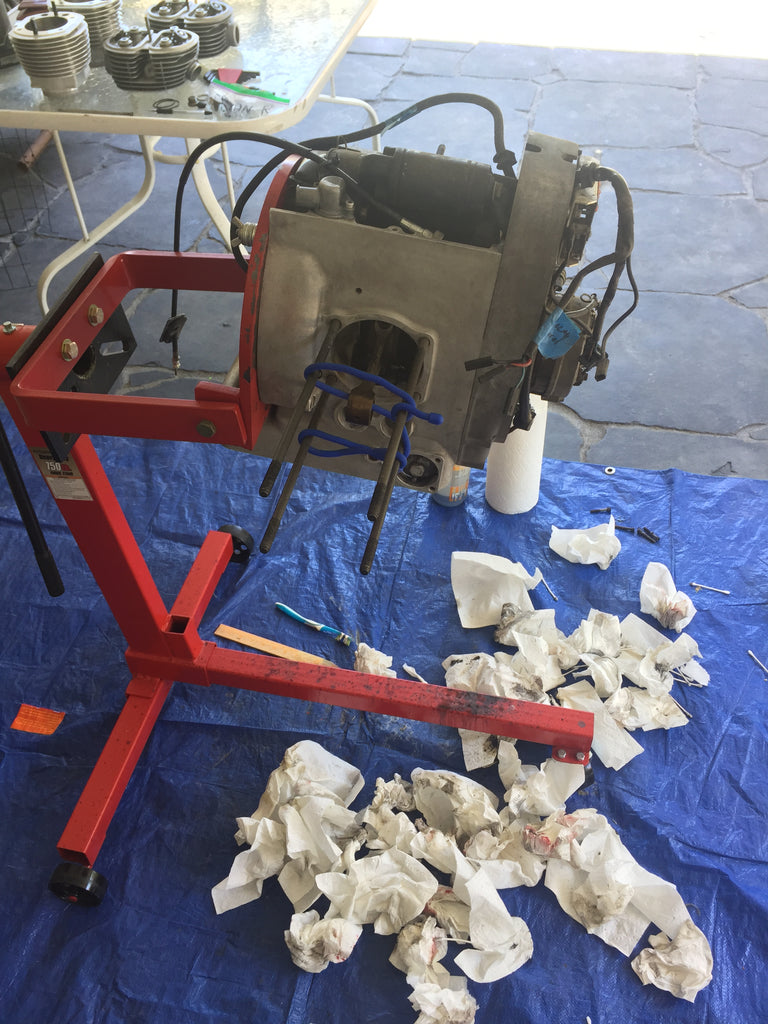
With the aid of a handy BMW R90 engine stand fabricated by Joel Rapose www.rapose.biz $165, I was able to mount the motor on a Harbor Freight engine stand. This is only about 1/10 of the mess I made cleaning this motor! Many hours were spent scrubbing and re-scrubbing every nook and cranny. Contemporary paints are so sensitive that ALL oil and grease residue must be eliminated or problems like "fish eyes" and improper adhesion could appear.

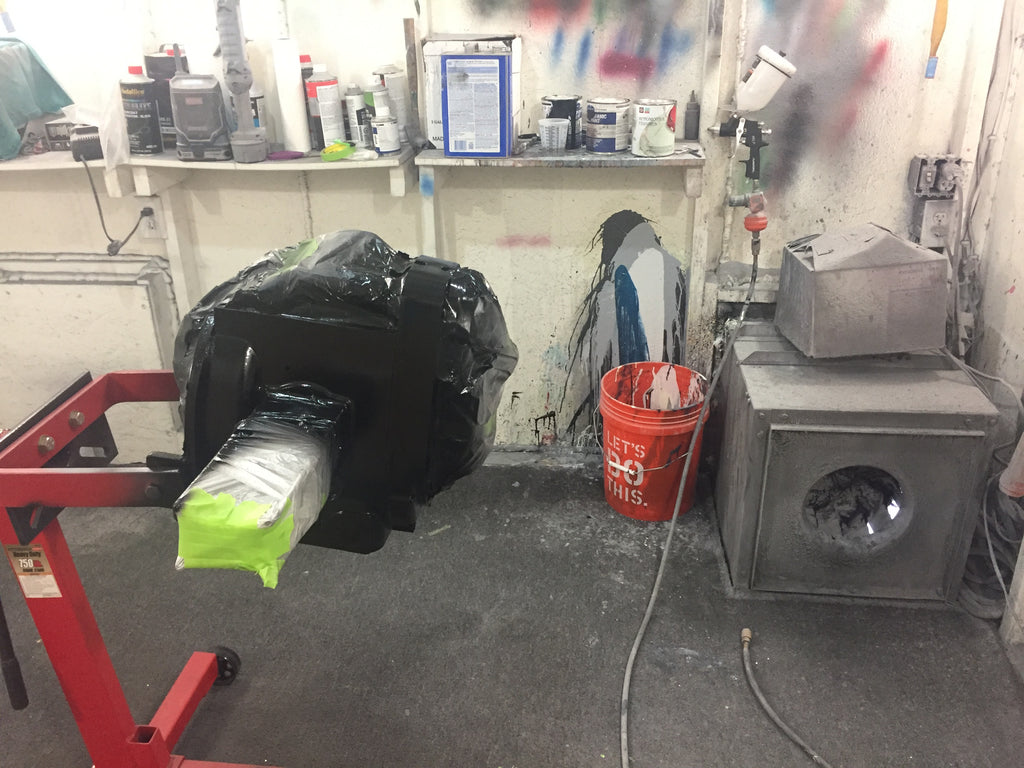
Everything masked off here. A couple tricks I learned painting motorcycles over the years:
1. Use kitchen trash bags to cover large areas. This cuts down on the amount of tape used.
2. Use a fresh razor blade or exacto knife to cut the take around sharp edges. Cut very slowly in a saw-like motion. The key to most paint work is patience. Ill have more examples of the importance of patience when it comes to painting the body parts.
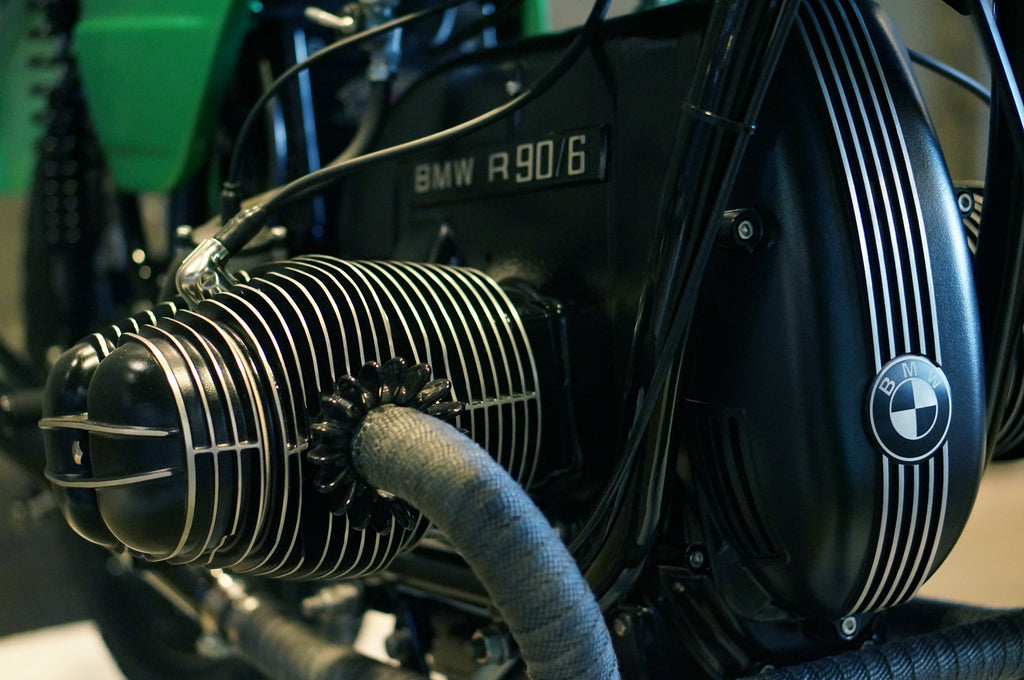
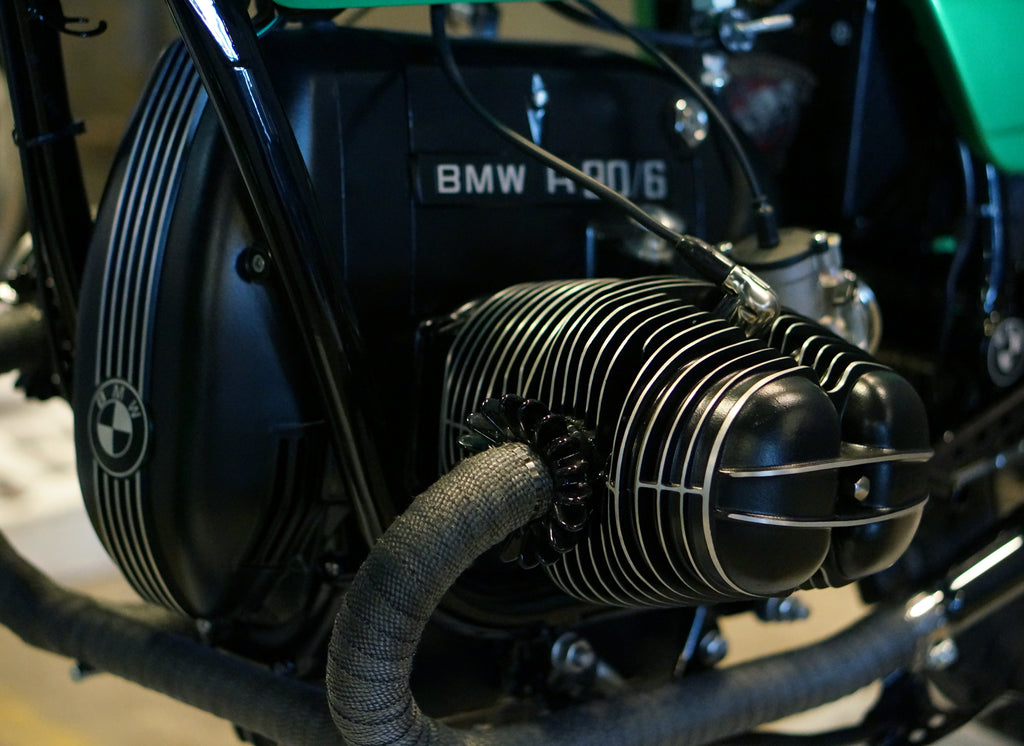
Here is a quick pic of the freshly painted motor. Ill have better pics showing the finish of the paint later. I used a catalyzed engine paint made by Eastwood. I chose this paint after LOTS and LOTS of research. The main reason is that its Catalyzed! This means that its MUCH harder than a non-catalyzed product like VHT. It will also be much more resistant to damage caused by gas and oil leaks. I imagine it also has better UV resistance as well which is important. Eastwood company only makes flat and gloss in black. I mixed both cans together to create a pseudo satin finish. Mix ratio 8/1 Flat/gloss. I wouldn't really recommend doing custom mixes because you never know what you're going to get. After I added the hardener (all samples were done without hardener) the final finish was much glossier than I anticipated. Id say about 60% gloss. Anyway, Im happy with the way it turned out and Im confident in this paint. It had great reviews and it sprays easily.

Here is the paint I used for the motor. Ill be using it as well for the heads and cylinders. Remember to get the catalyst as well- that's important! Mix ratio is 4/1. Sprays real easily and doesn't require a reducer. When painting your motor, make sure to adjust the fluid control and spray pattern. Depending on the size of the motor, you don't want much larger than a 4" fan or so. Turn your fluid level down so that on the first pass, you're only spraying enough material to cover the motor in black. You're not focused on building up the material for a smooth finish yet. Wait about 10 minutes after the first coat for the product to flash off. On the second coat your focusing on building the material up so its a smooth finish. I use a hand held fluorescent light to watch the finish on the surface as I spray the material down. Be sure NOT to over spray the product. Once you see a smooth-ish orange peel on the surface of the engine, stop and move on to other parts. The paint (just like most paints) will smooth out after sprayed. The key is patience and painting slowly. Its not a rush. Take your time!
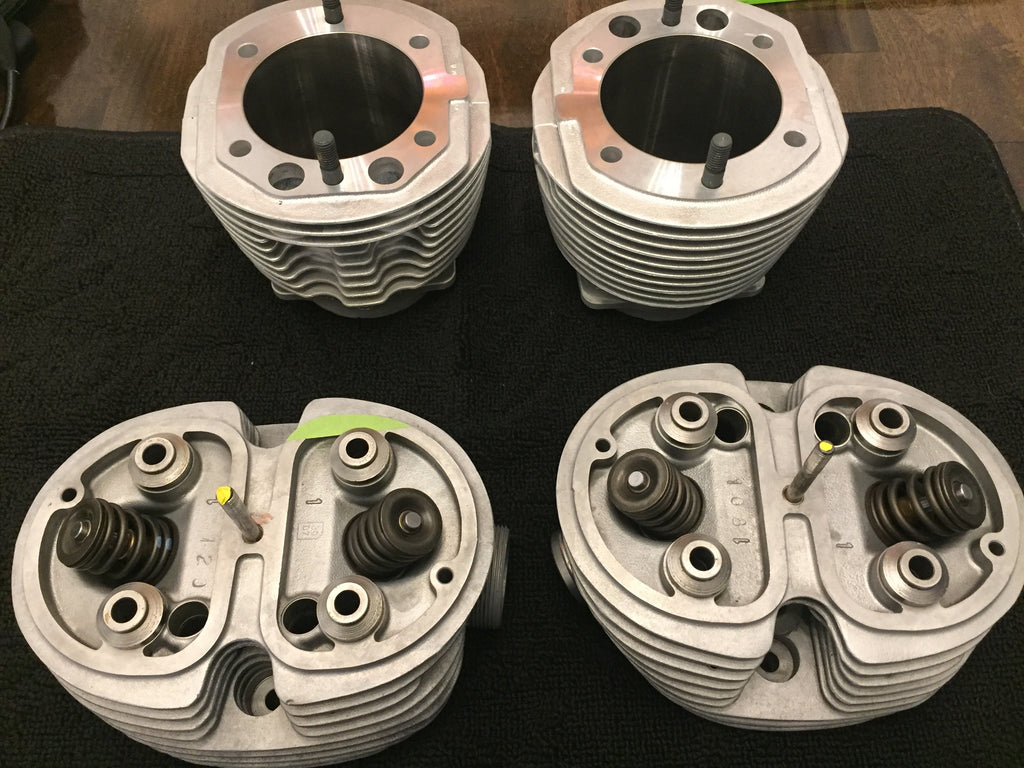
BMW cylinders and heads ready for masking. A Sieben Rock 1,000 cc big bore kit will be installed and you can see the cylinders pictured here. The heads had a little bit of work done. New valve guides were installed and the valves have been lapped. After the work was completed, they were vapor blasted. Before masking the cylinders and heads, I cleaned them very thoroughly with Zep 505 industrial cleaner. I use this cleaner all the time to clean up fenders and gas tanks before sanding and primer.
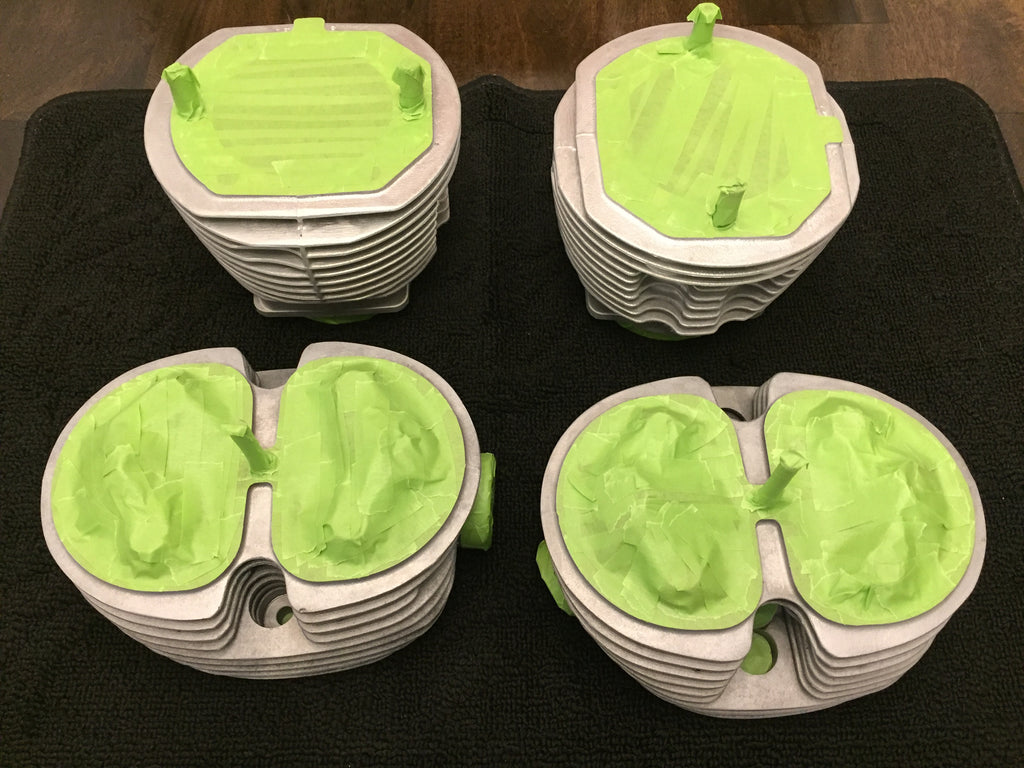
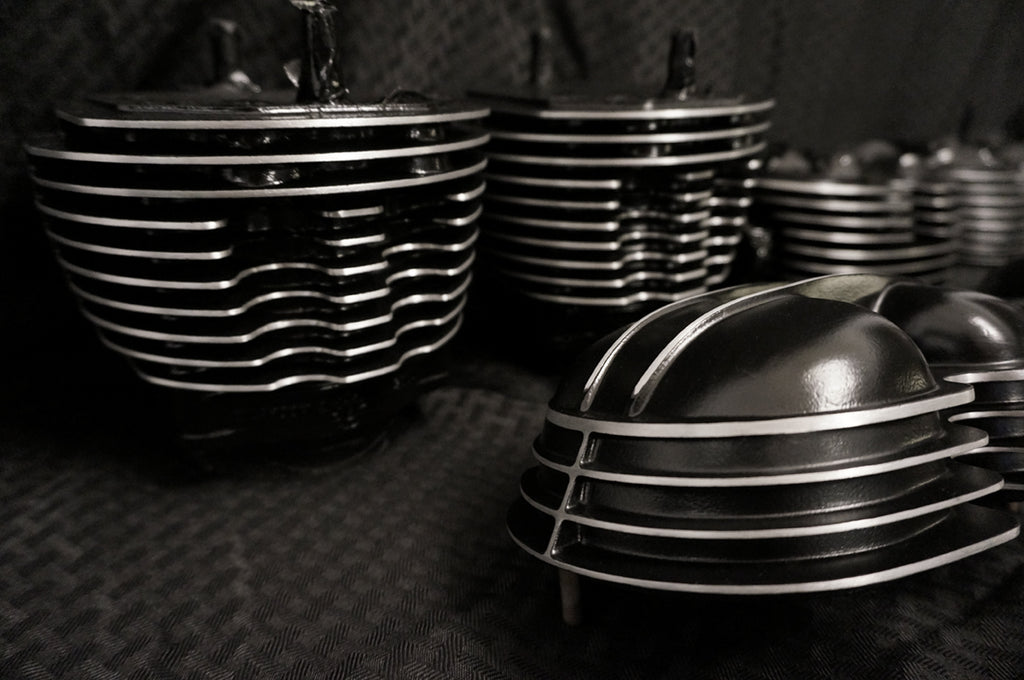
Here are the cylinders and heads all masked up and ready for paint. The key to getting the masking perfect around the edge is to use a razor blade and cut all of the hard edges that are possible. Try using a sawing motion to cut the tape. Also, cut slowly. Finally, use an automotive grade tape. They have more adhesive on the back as opposed to normal blue painters tape.
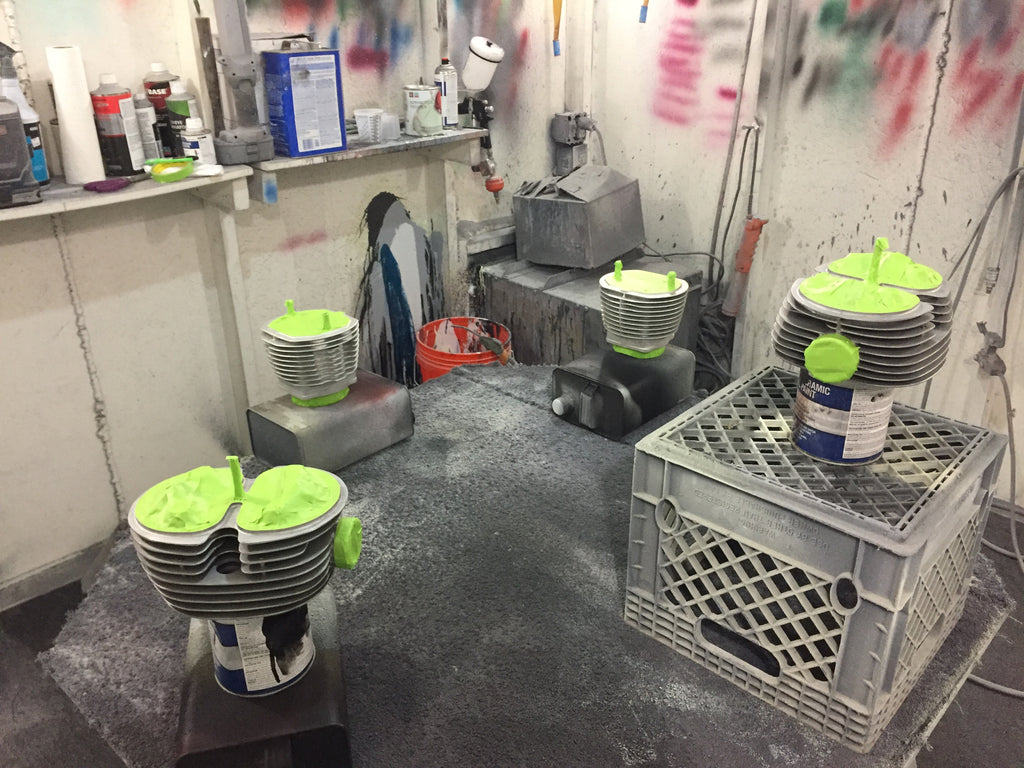
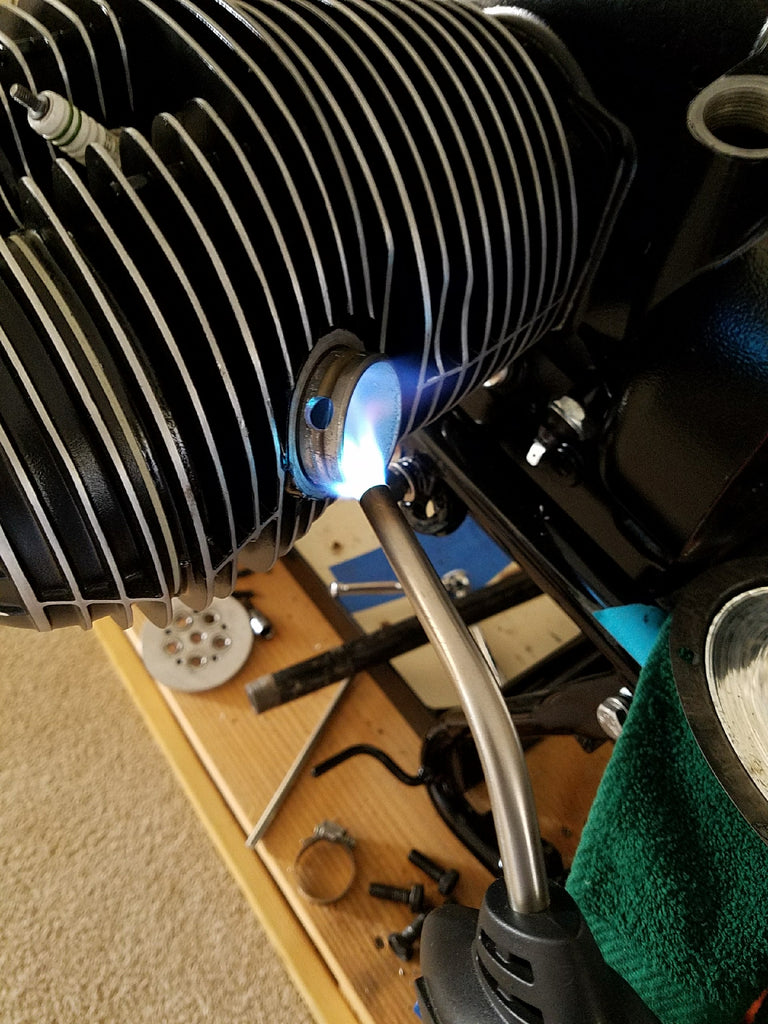
Here are the cylinders and heads ready for paint. Ideally these could have been powder coated but the heads would need to be taken apart in order to do so. When painting the engine parts with tight fins there is definitely a technique to follow. The key is to SLOW DOWN! Your main issue to try to get as much paint deep down inside the fins. In order to get the proper coverage, you'll be building up a LOT of paint on the edges of the fins. The build up is what you want to avoid. It could most commonly drip or have problems with drying if you're using gloss or satin. The issue would be solvent pop (if you want to look into it further) The best technique is to do 2 coats. Make sure the fan of the paint gun is not more than 2-3 inches. Make sure the paint volume is down so that you can avoid spraying too much paint. Paint the cylinders working from the top down and then again from the bottom up (first coat). Aim the gun so the spray tip makes a straight line to the bottom or top of the inner most groove of the fin (depending on which direction you're spraying)

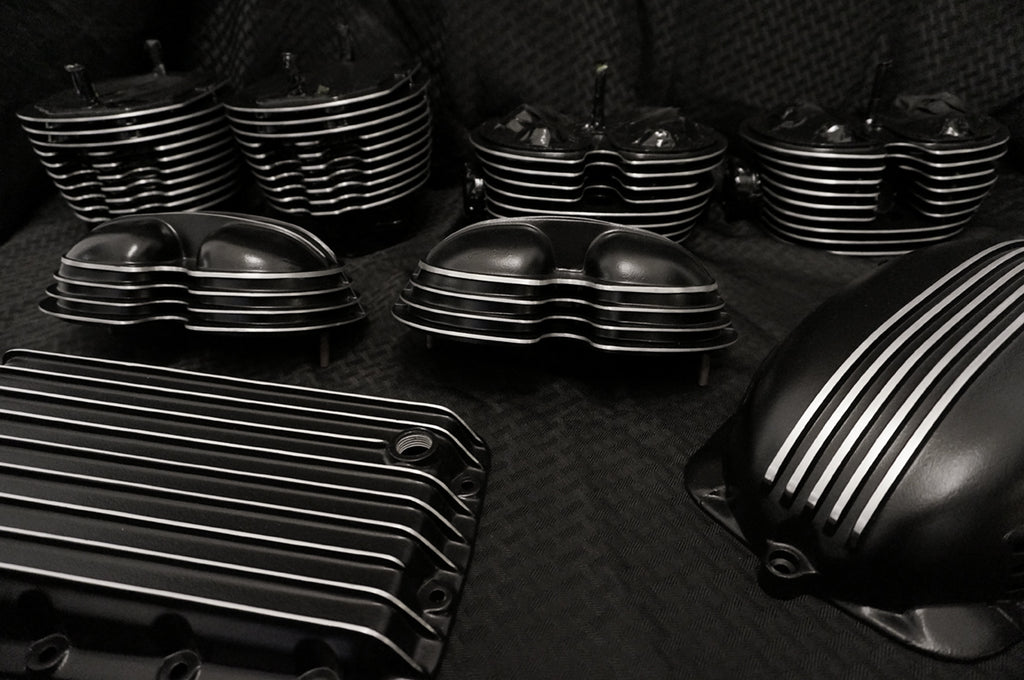
The fins of the cylinders and heads were sanded down in a 2 part process. First with a dremel sanding bit 120 grit. Then to smooth everything out and create a grain, I used 120 grit sand paper and sanding each fin by hand. It took FOREVER!

Here's just a portion of all the sand paper I used!
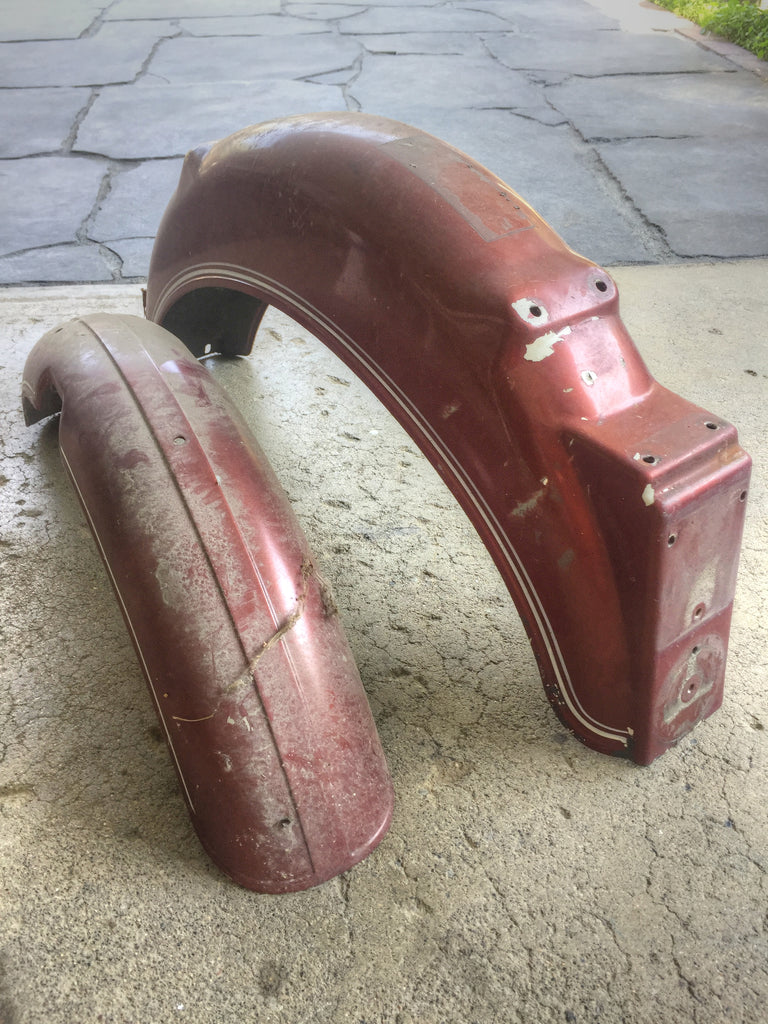
Here's a before picture of the front and rear fender. A lot of work is about to get done!
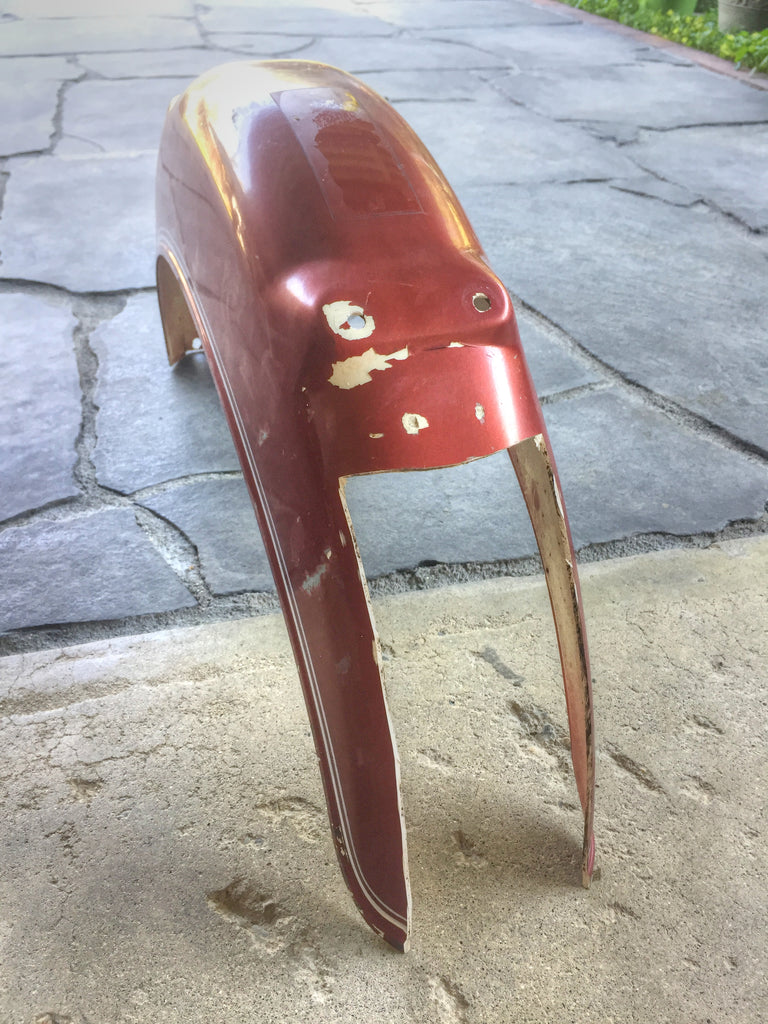
I cut out the boxy license plate and tail light mount on the rear fender. I will use fiberglass and bondo to mold the fender to a matching shape.
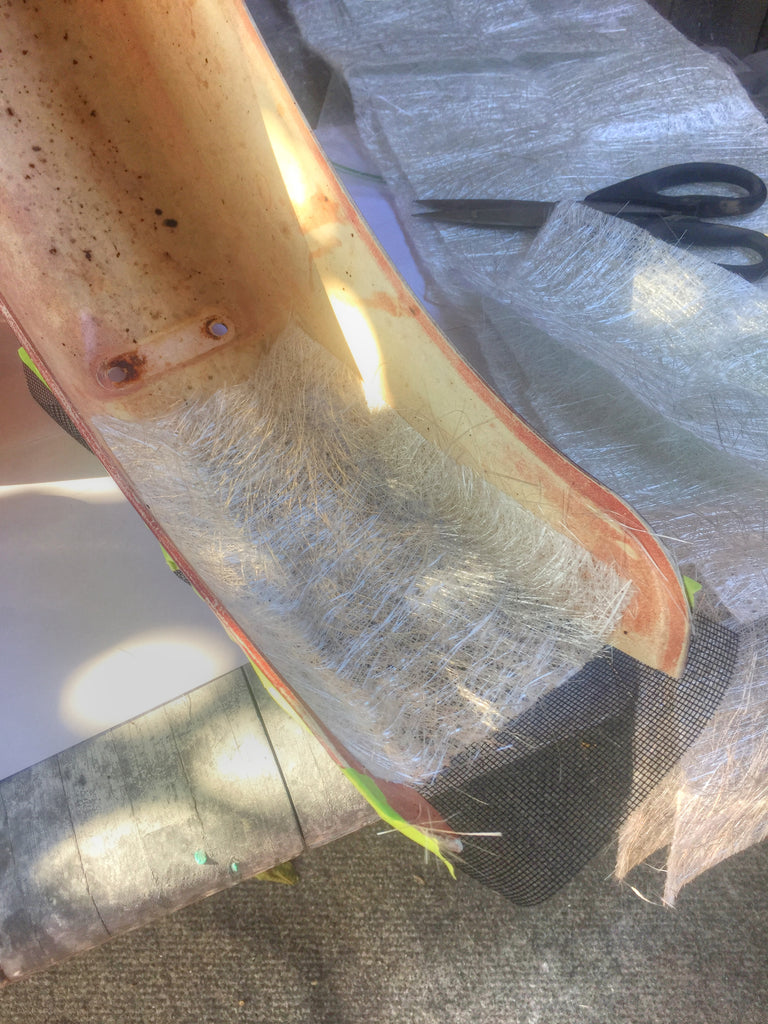
Here is the work beginning to start! I used screen (regular vinyl window screen) to create the basic framework for the shape. This serves as a barrier for the fiberglass. The first layer of fiberglass mesh is pictured as well.

This is the final layer of fiberglass pictured here. There are 3 layers of fiberglass mesh here. When doing multiple layers, make sure to sand in between the layers so there is a mechanical tooth holding them together. Lots of fiberglass here for stability.
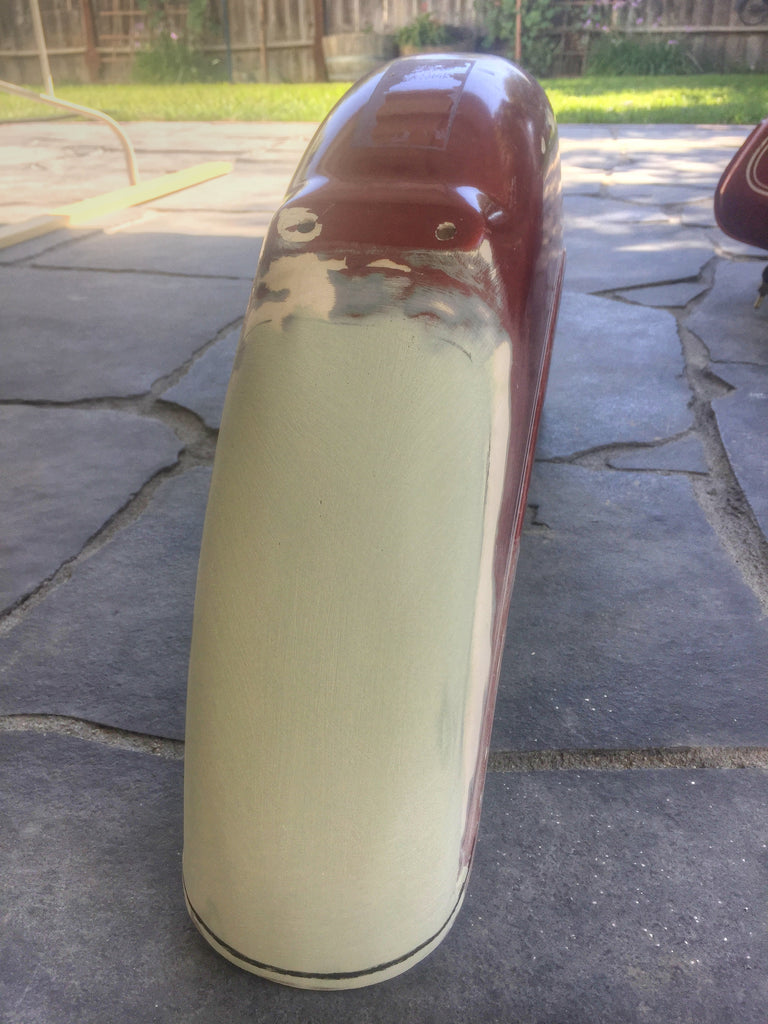
Here is the rear fender after the bondo was completed, or close to it! There is at least 7 or 8 layers of bondo here. The key is to work slowly to mold the bondo properly. This picture was taken right before the engraving of the rear lip.
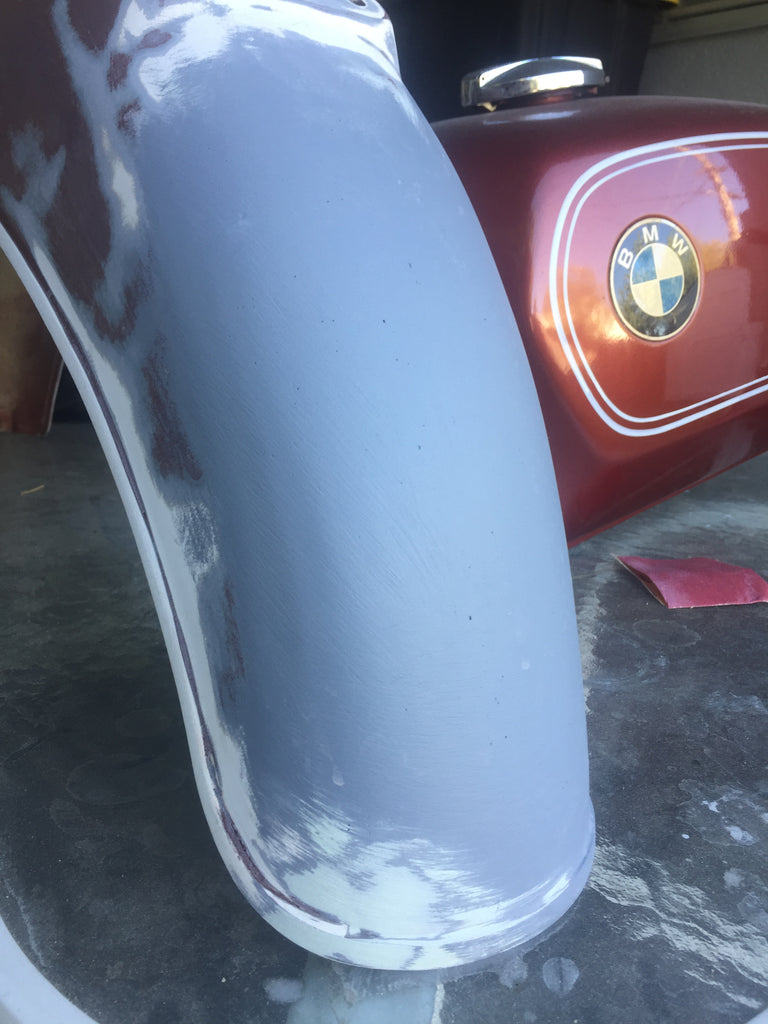
Here is the fender with a little more progress. Here I have feathered down the bondo smooth enough for its final shape. Once you're at this point, there will still be lots of imperfections in it as seen here. I usually spray a couple thin coats of aerosol primer and use a guide coat to uncover any final work that needs to be done- some feather sanding and filling in the pin holes. I use a feather fill product that fills up the small pin holes. This then needs to get sanded down as well before the first main primer coat. Repeating this process a few times also happens a lot to get missed imperfections.
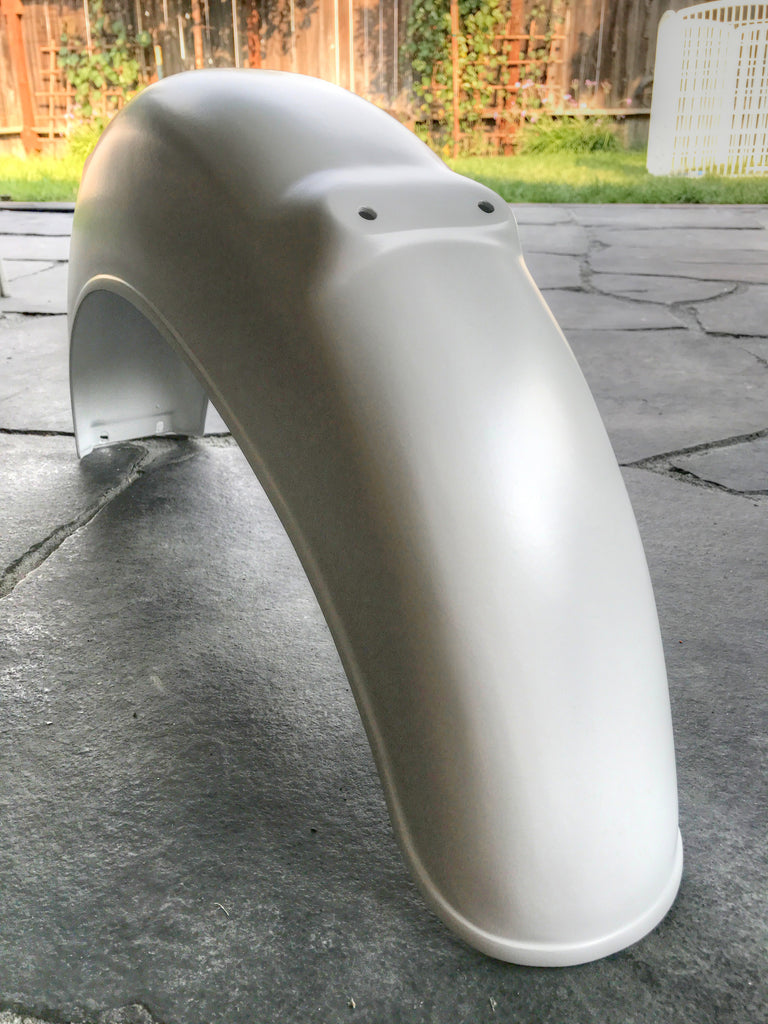
Here is the final product looking nice and pretty! Lots of 2k catalyzed primer was used to help feather the little imperfections out. Using a guide coat is key for this. I hope it works because it was an immense amount of work and I'm not doing this again!

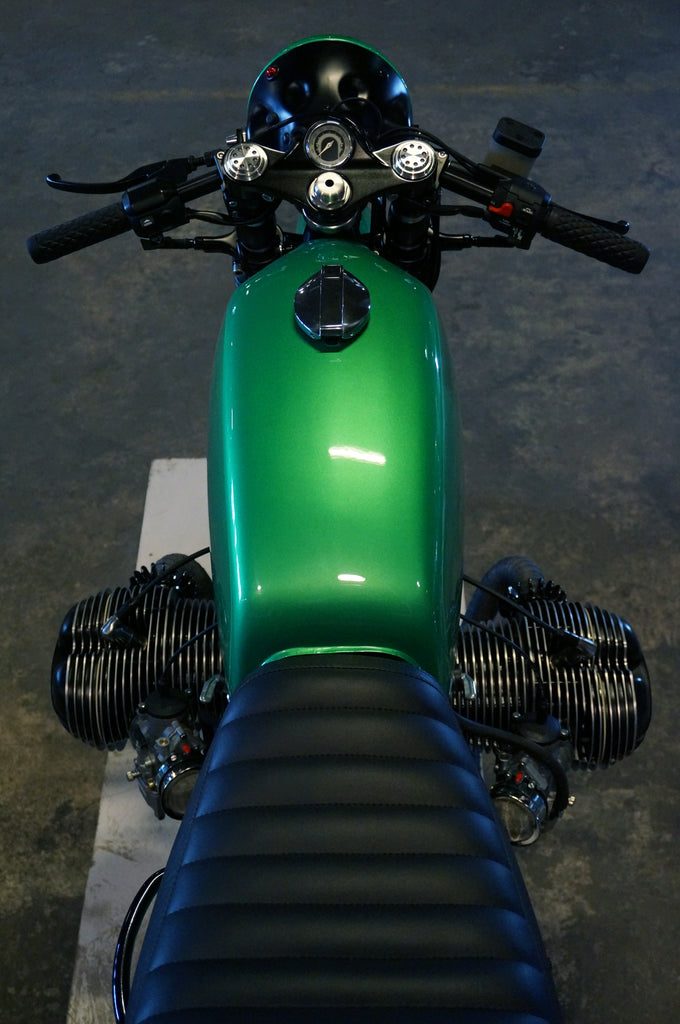
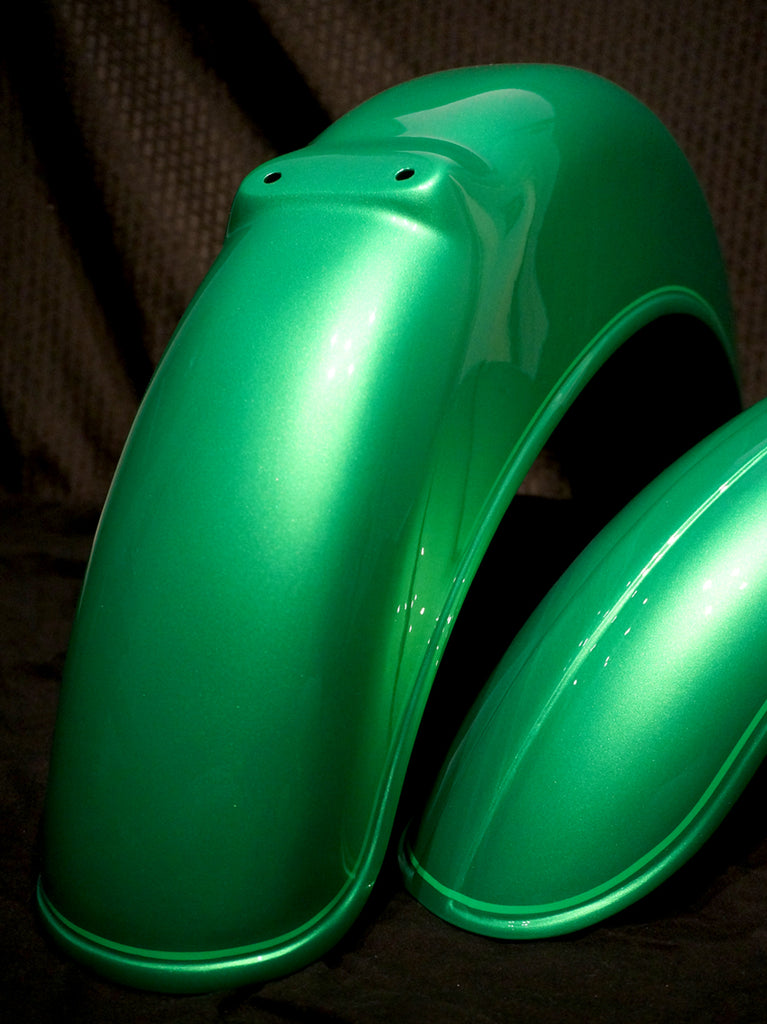
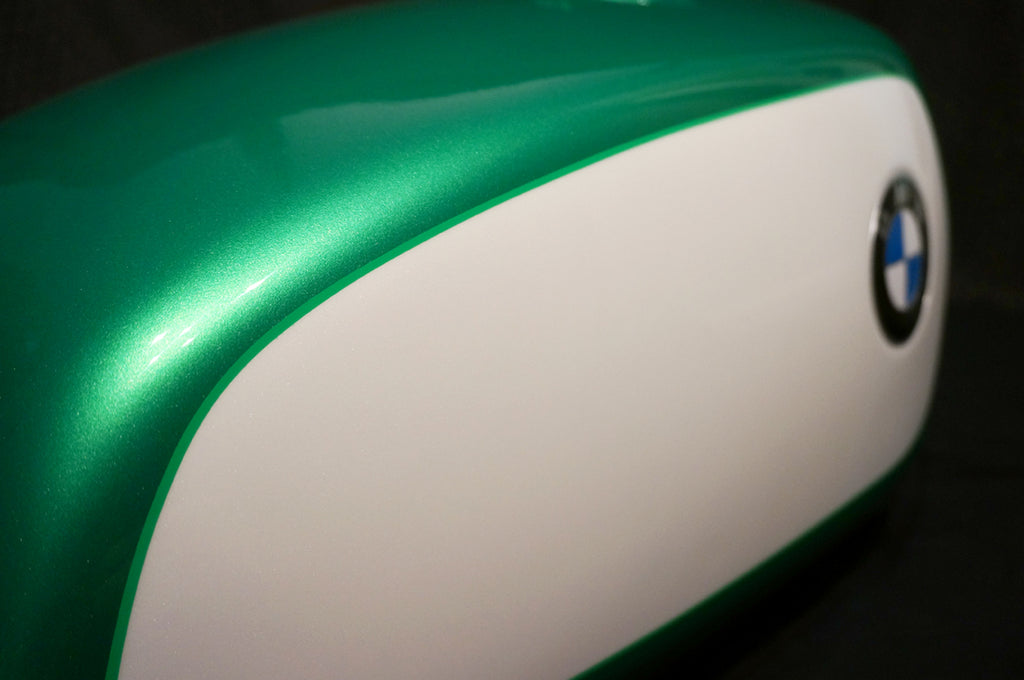
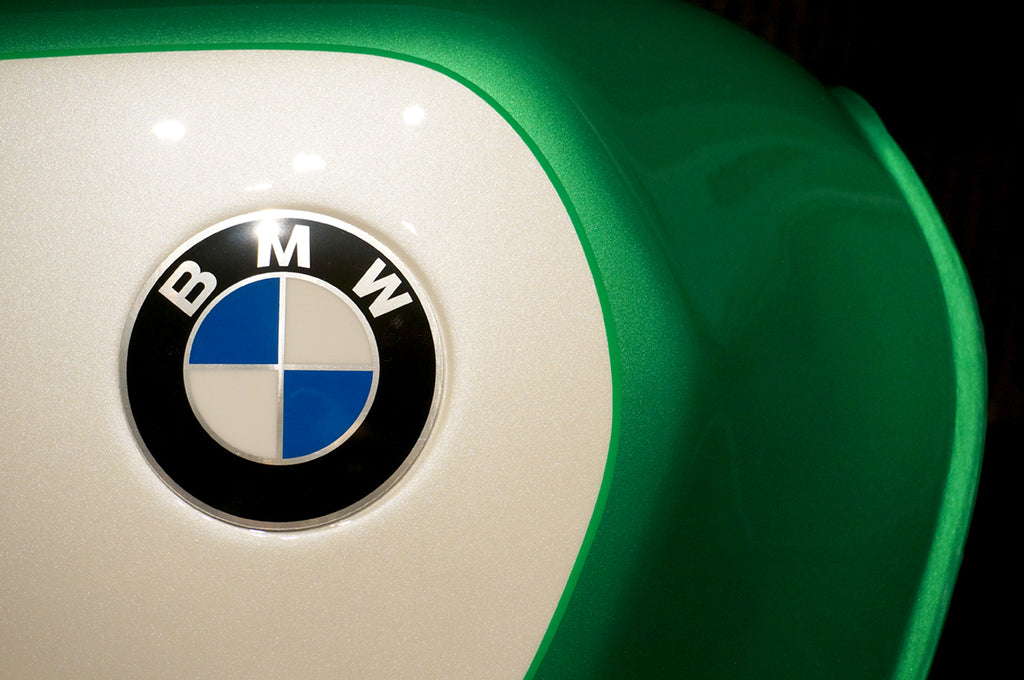
Here we have the base coat green laid down, clear coat (used as an inter-coat clear) and the pin striping is done. Now off for the final clear coat. I will double clear the final pieces. Meaning- I will clear over only the pin striping and sand it down. This buries the pin stripe so its smooth to the touch for the final finish. Then a final clear coat is laid over the entire piece!

If you are interested in getting some paint work done, please contact me at www.ryansworkshop.com


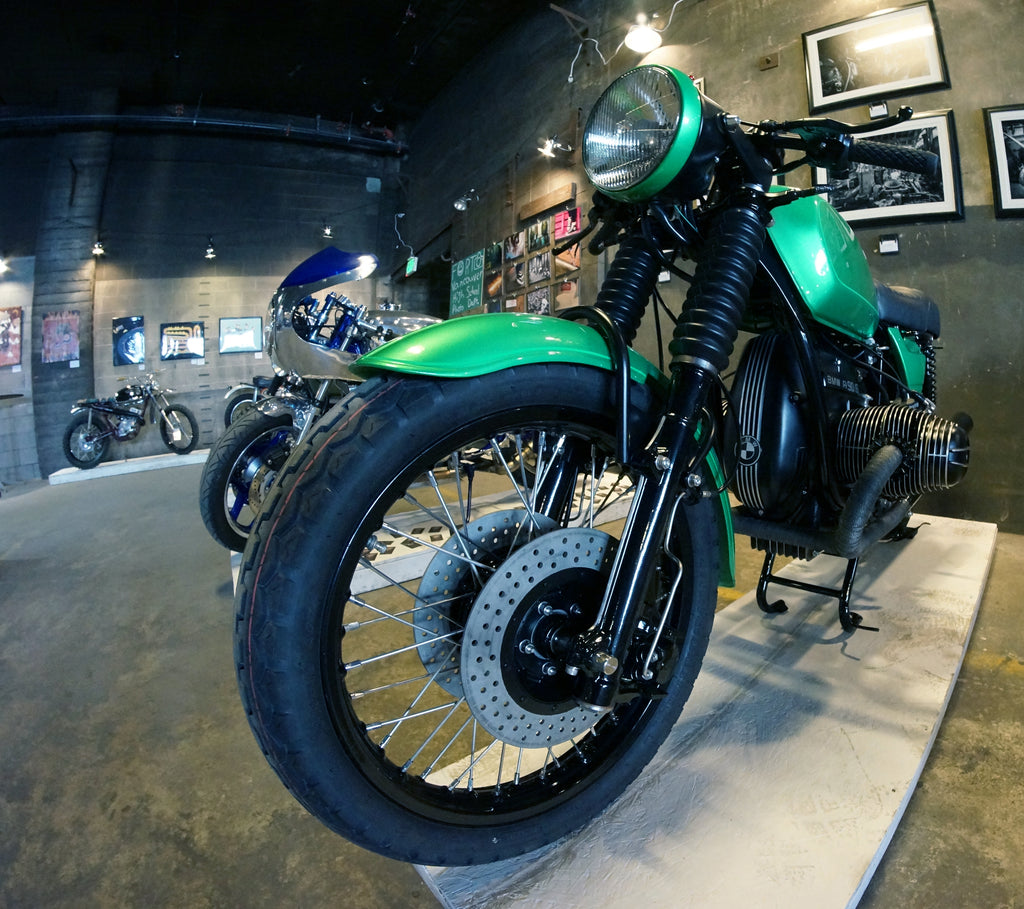
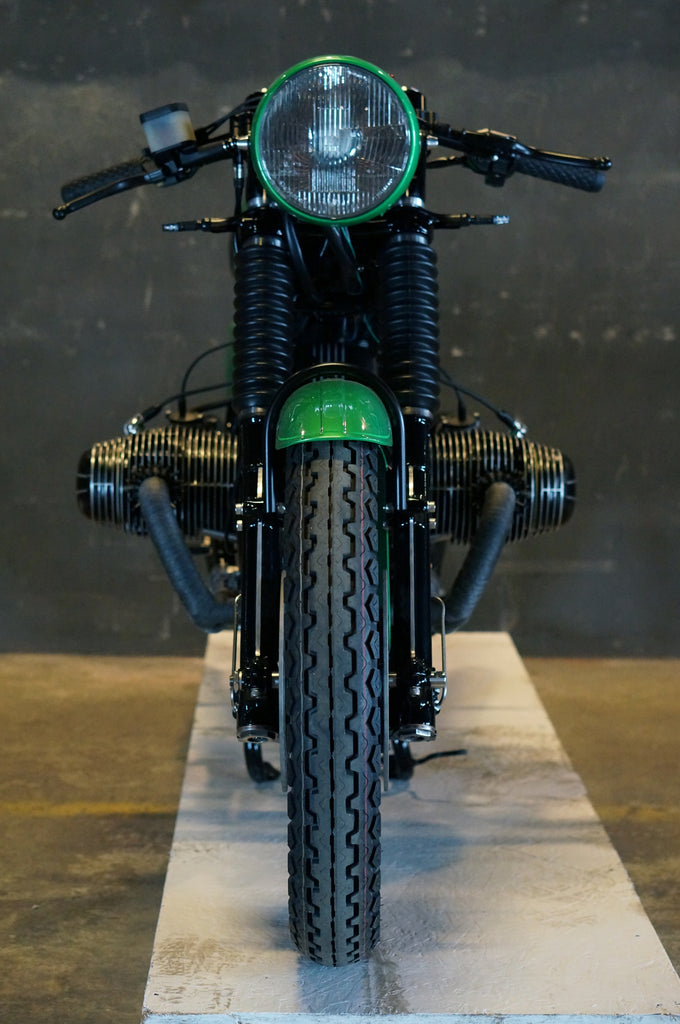
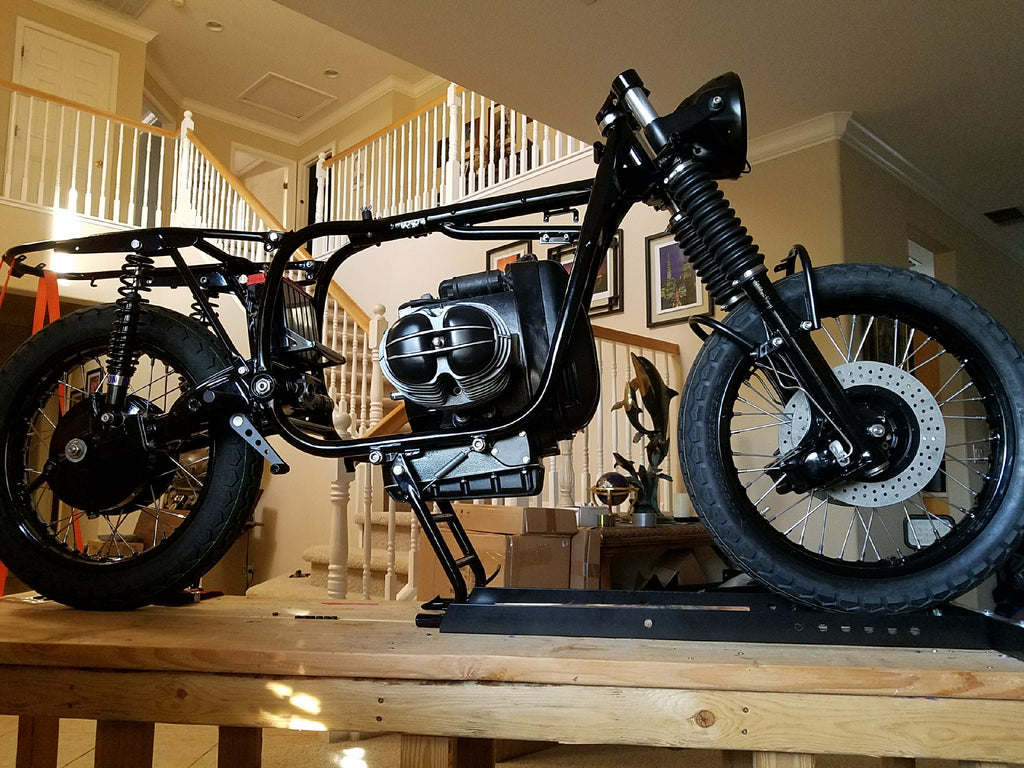
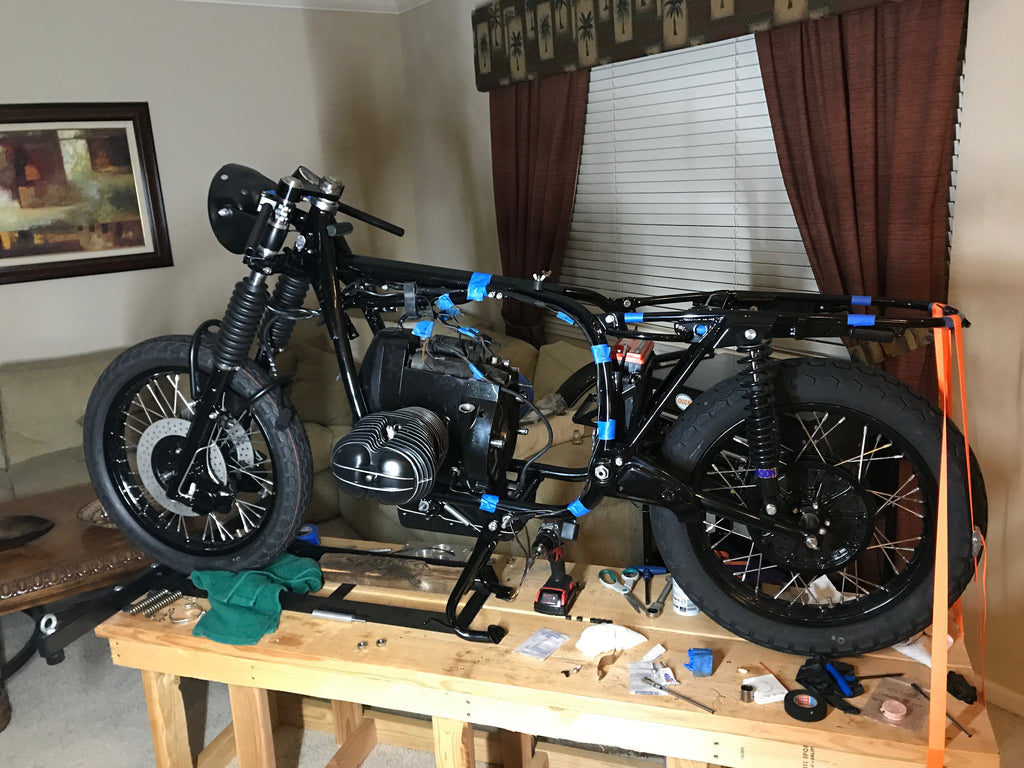
Here we are getting the bike all mocked up! The frame, subframe, rims, hubs, brake calipers, and many other parts have been powder coated glossy black. Powder coating is by far a more durable coating compared to paint. It can hold up to rock chips and everyday wear far better. The rims were fully disassembled and re-assembled using stainless steel spokes and nipples. A stainless steel bolt and nut kit was ordered. Front Forks were disassembled, cleaned, and powder-coated. New seals were installed. New Dunlop tires were installed by A&S BMW in Sacramento, California. Hagon shocks were installed.
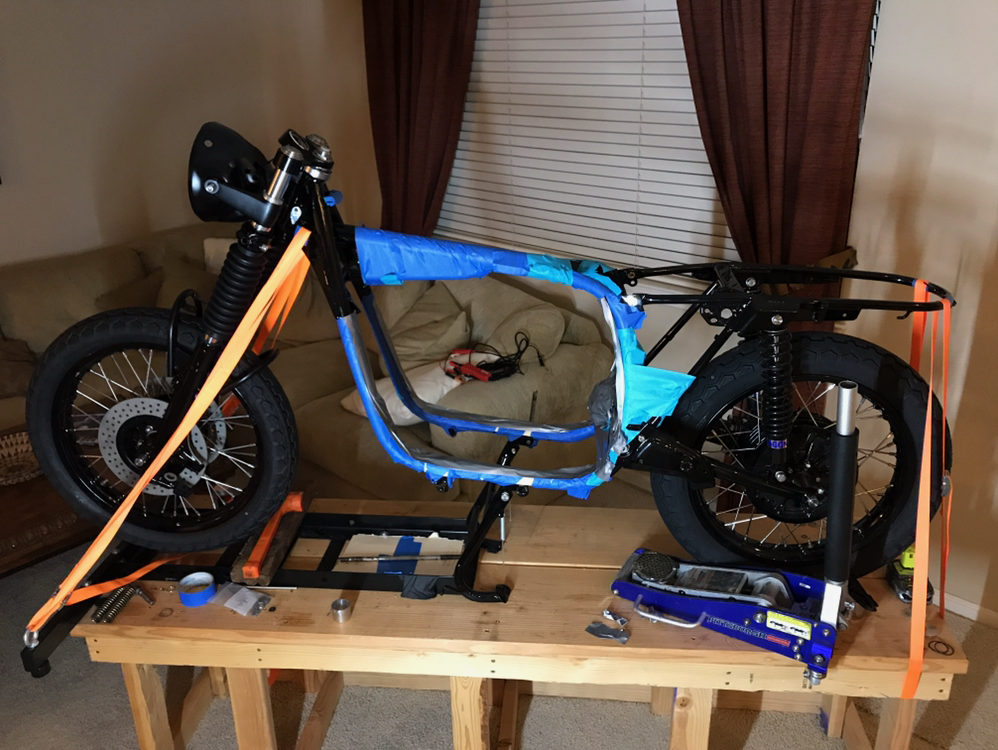
Here we are all ready for the motor to be installed! We ended up having enough tape :) A good tip was to put blue tape down first and then layer duct tape on top for more cushion.
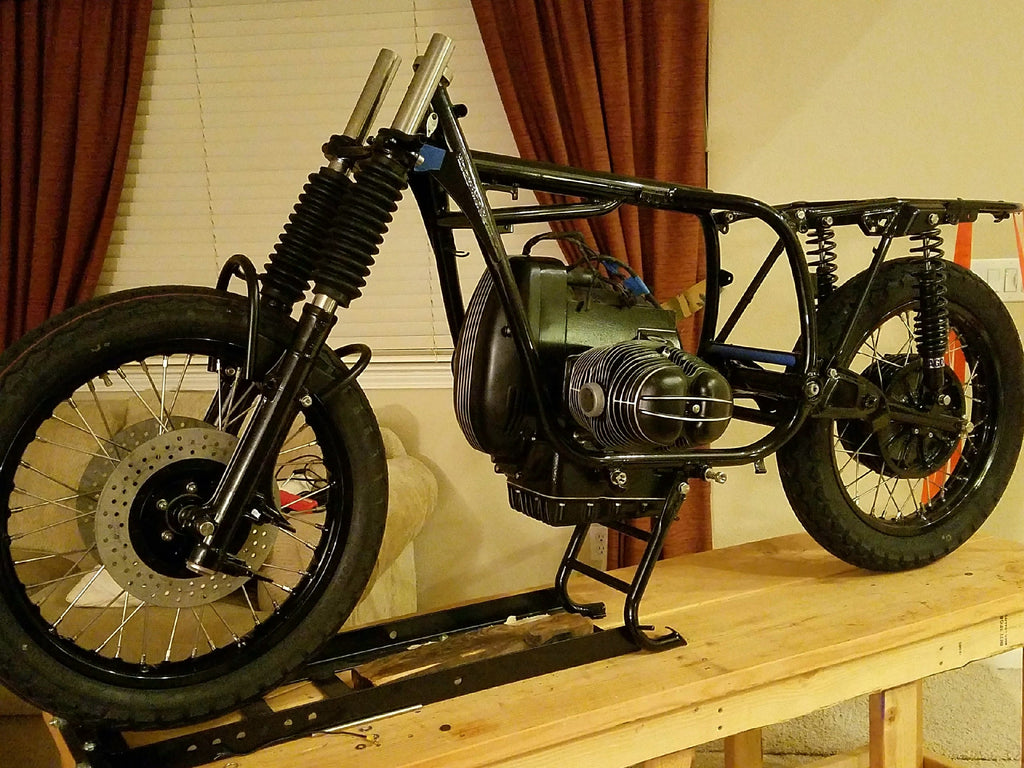
This picture shows the motor all nestled in place. The Stainless motor mounting bolts are holding it in place for now. Stainless nuts, washers, and bolts are holding the motor covers and pan in place. A custom top cover is on order from flat racer based out of the UK. It will be painted to match with catalyzed high heat engine paint. Also visible in the photo is the custom front fender mounting bracket. It was powder coated also using a semi gloss/satin finish. It contrasts nicely with the glossy parts. The brake disks are original. They were soda blasted and powder coated.
This photo shows the installation of the center stand (glossy black powder coated) and various hardware. New springs and stainless hardware was used. Anodized rear sets from Boxer Metal located in Chico California were installed. This photo also shows the battery box mounted using the original gel cell battery. In addition, the new stainless front brake lines are also visible. 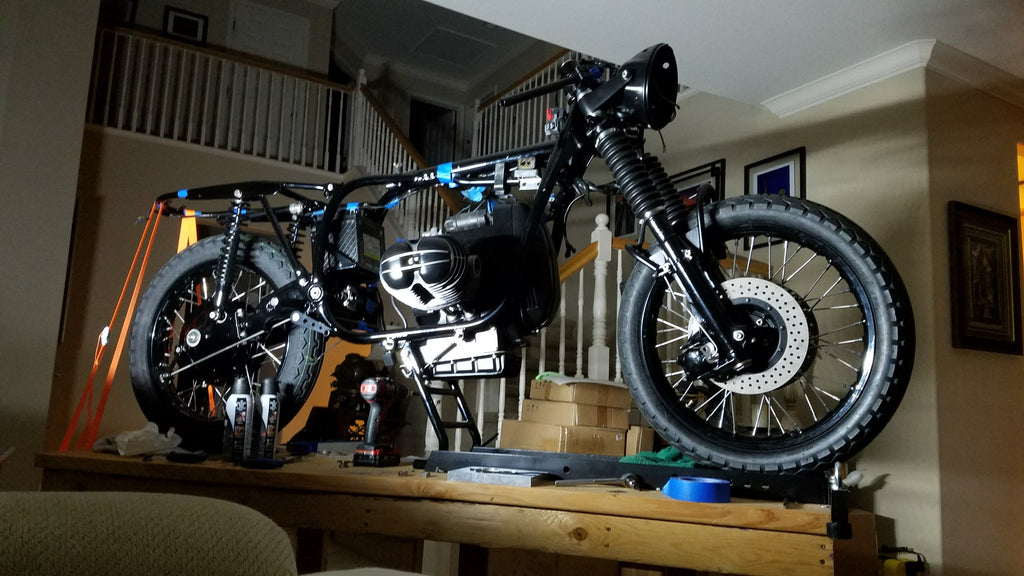

This photo shows more stainless hardware installed.
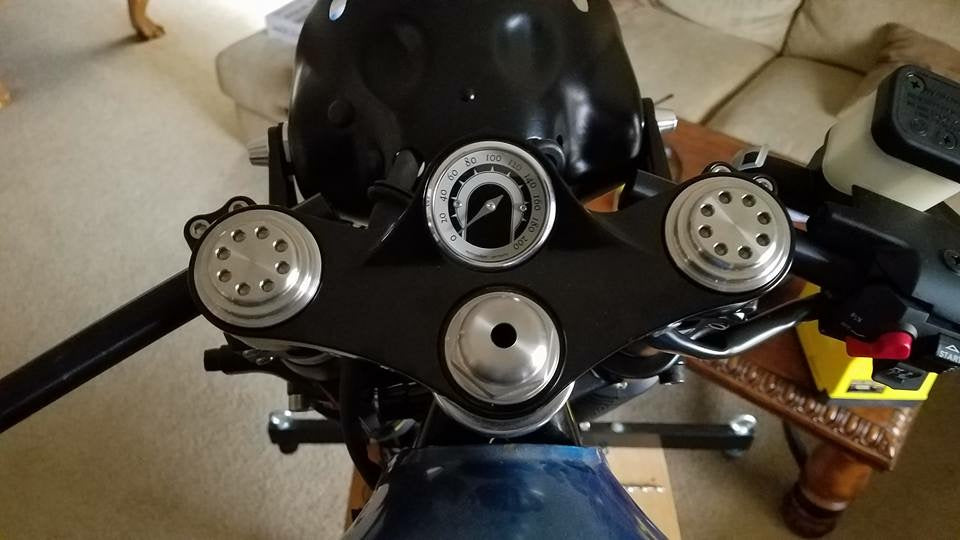
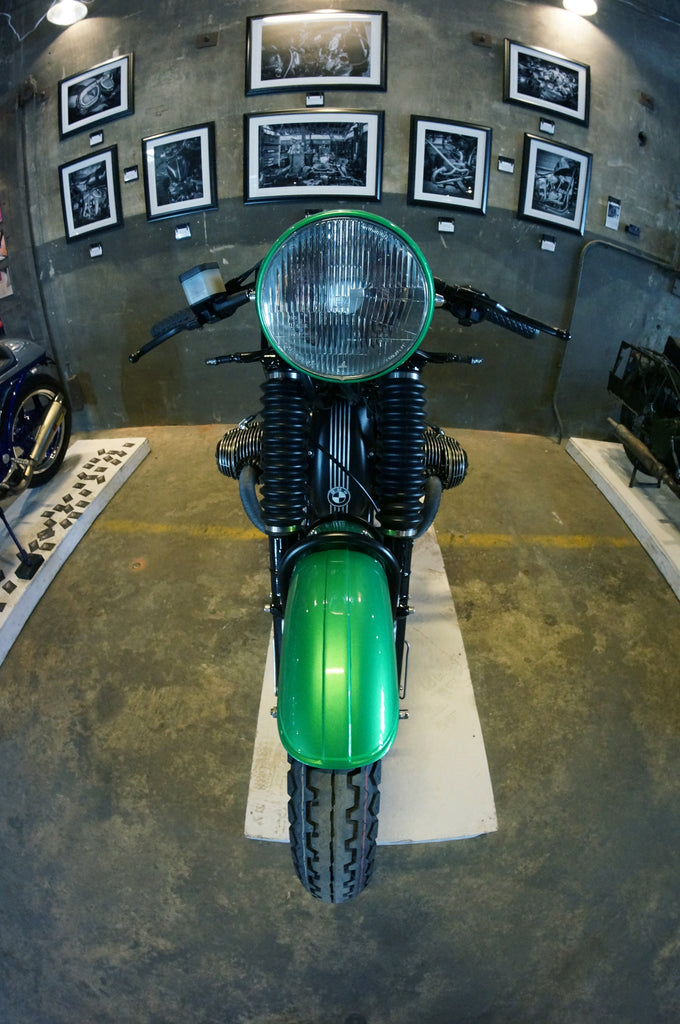
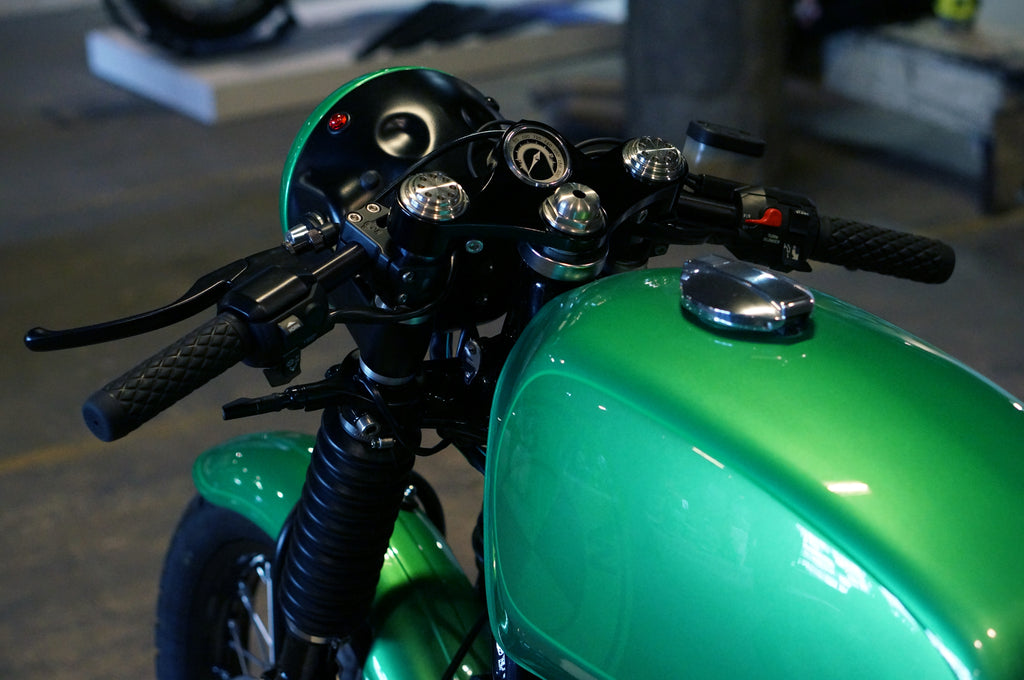
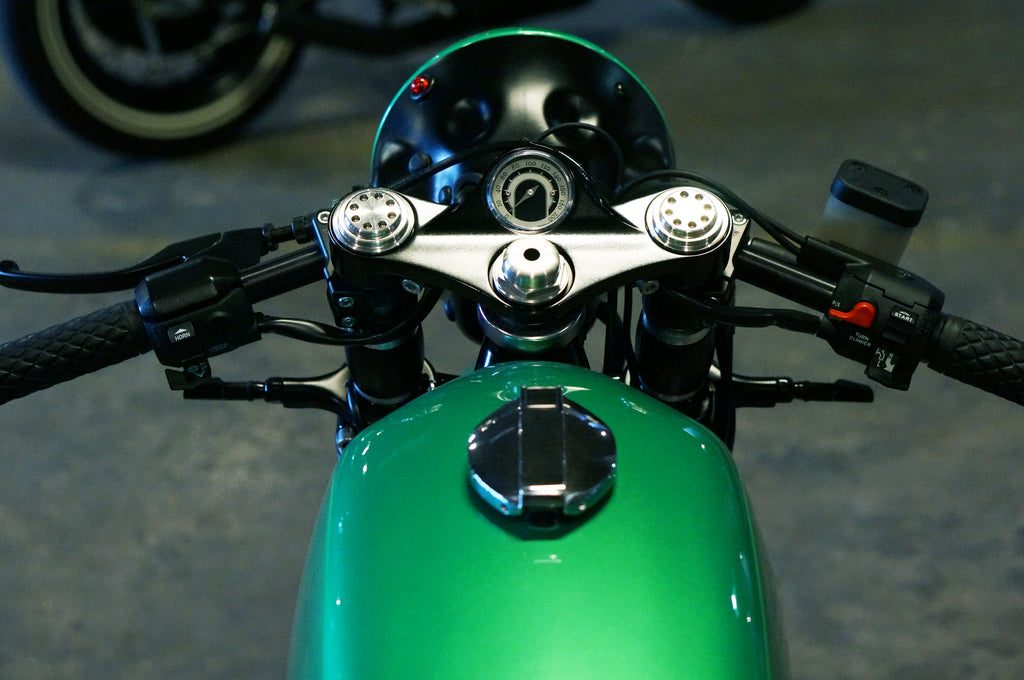
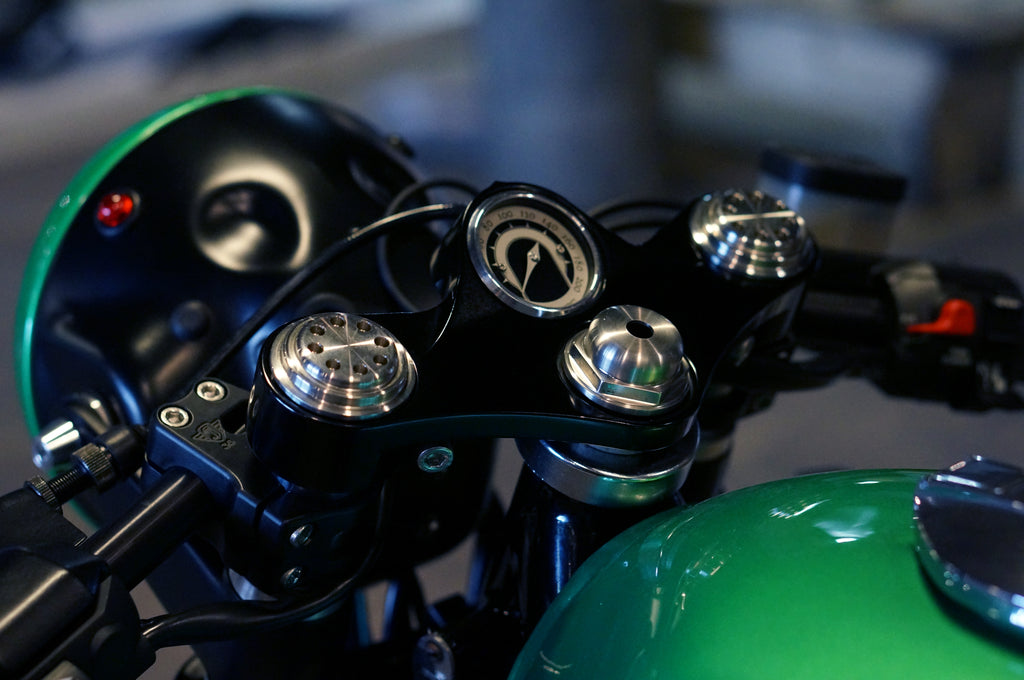
Things are coming together now! We have a polished and black anodized top clamp from OSHMO in Southern California. He also provided stainless fork caps and center nut. A custom polished steering dampener will be installed in the future. A mini moto gadget speedometer was installed as well. This OSHMO top clamp was designed to use this speedometer. Somewhat visible are the anodized clamp on handlebars by Joker Machine. New BMW controls are used with the right having the brake reservoir mounted on the bar.
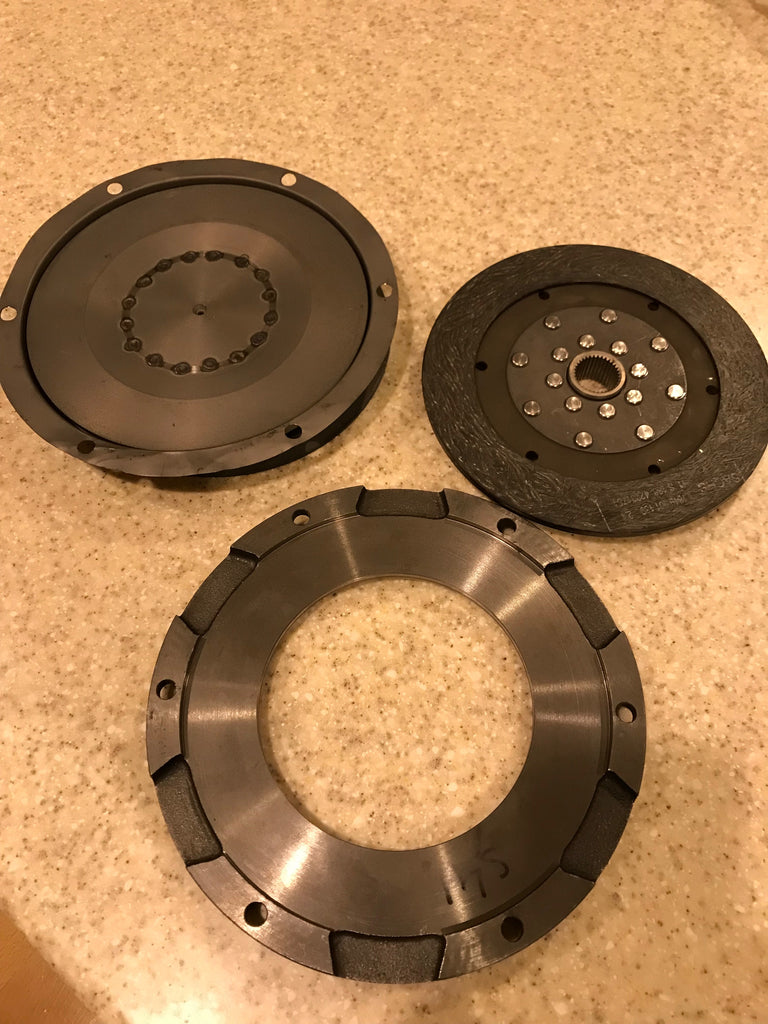
New Compression and Clutch plates were installed while the transmission was off the bike.
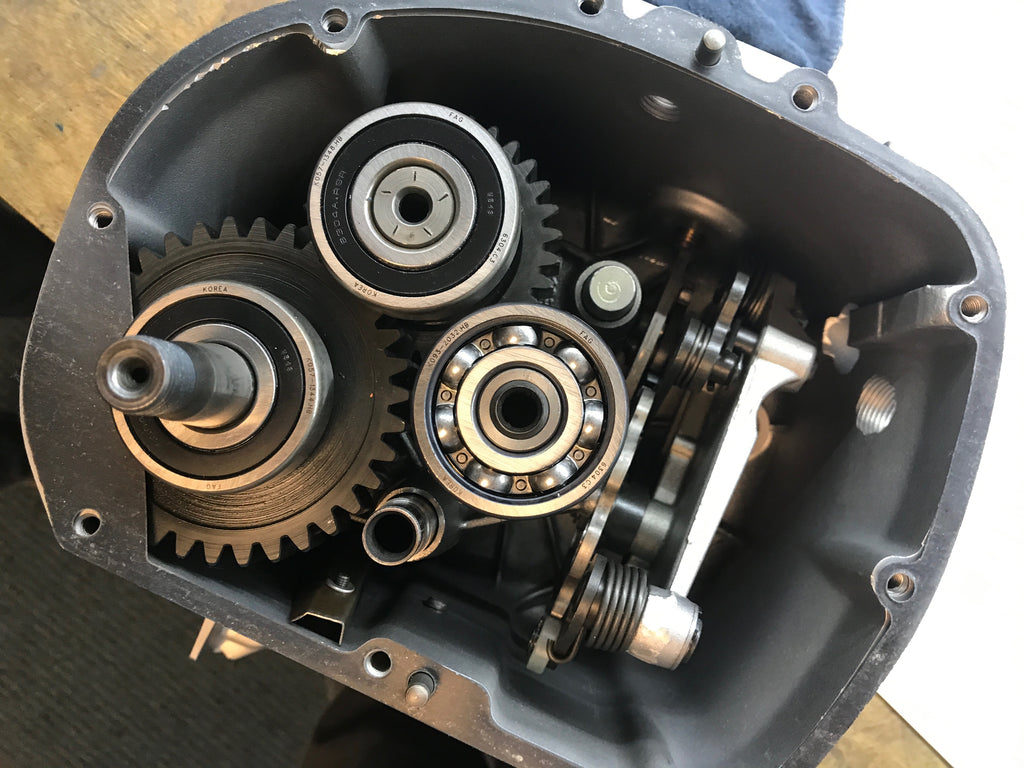
Transmission was completely disassembled and rebuilt by Eddie over at Boxer 2 Valve located in Watsonville California. Several Gears and springs were replaced but all in all, the transmission was in good shape!
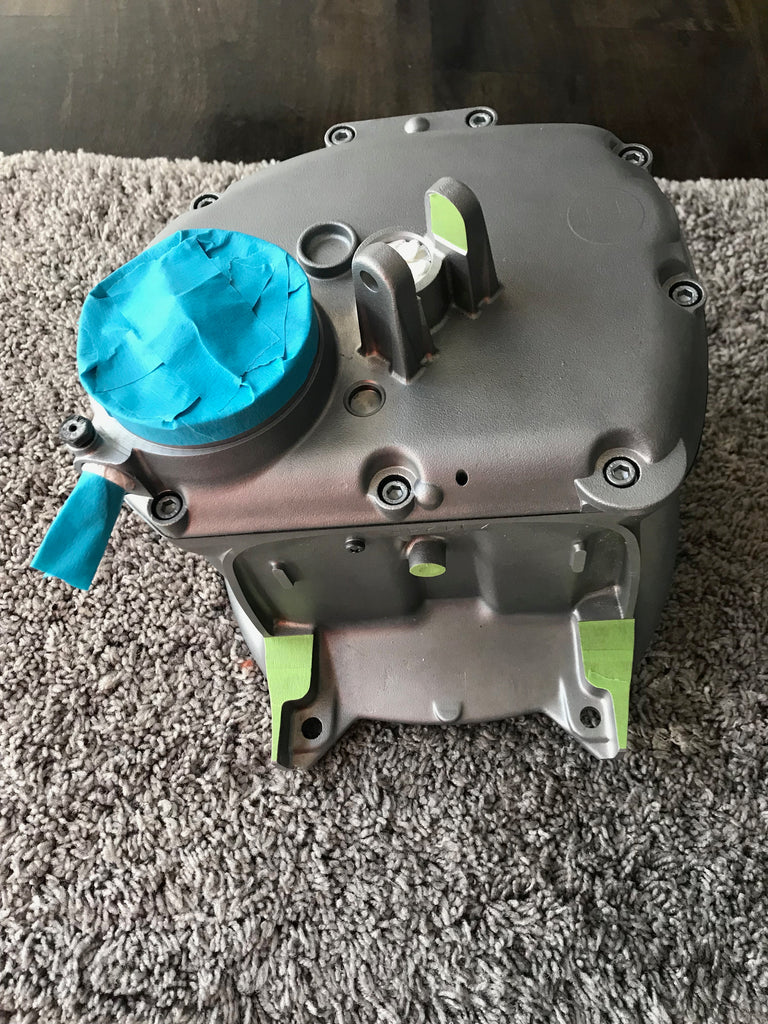
Here we have the transmission all taped off and ready for paint. I will be using the same painting methods on the transmission as the engine. Scroll up to read about the direct to metal painting process!
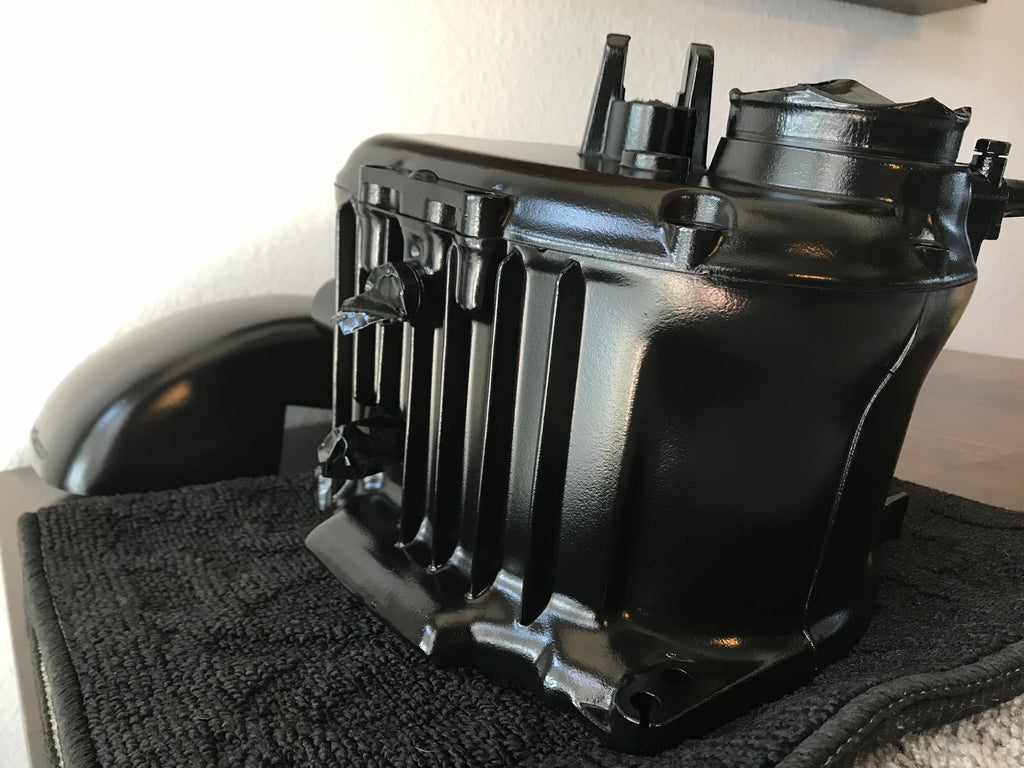
Here we have the freshly painted transmission. You can also see the custom top cover by Flat Racer sporting fresh engine paint as well.
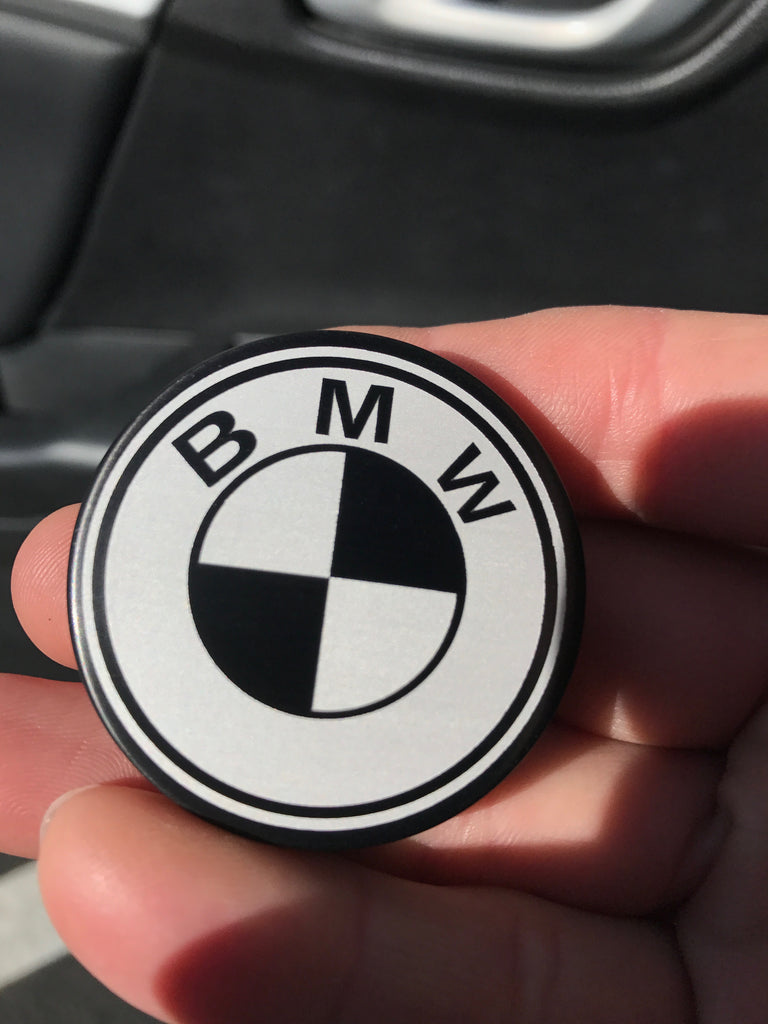
Not everything goes smoothly! A lot of the parts had to be re done or re finished because the finish was not quite right. This time, these custom swing arm caps were engraved, but the colors of the BMW logo were supposed to get reversed!!! Oh well, what's another $60 bucks!?
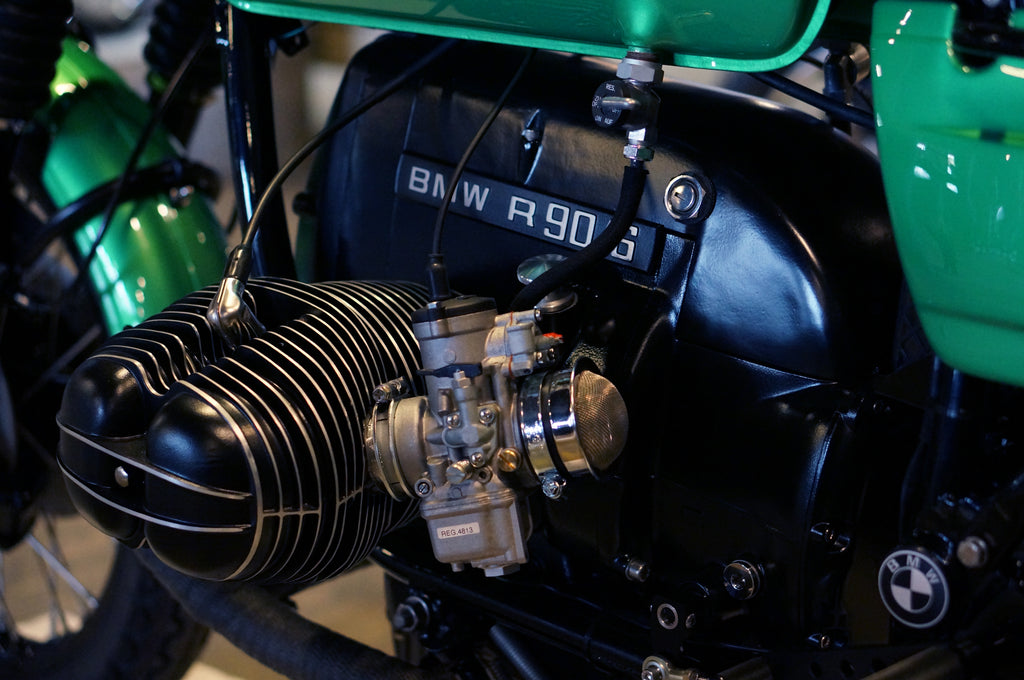
The Carb mounts were jammed tight in there! We froze them, torched them, and anything else you can think of, but finally we were able to pull them out using brute force! Luckily nothing was damaged in the process!
Here we have the wiring all mocked up and in place! Lots of tape temporarily holding it in place.
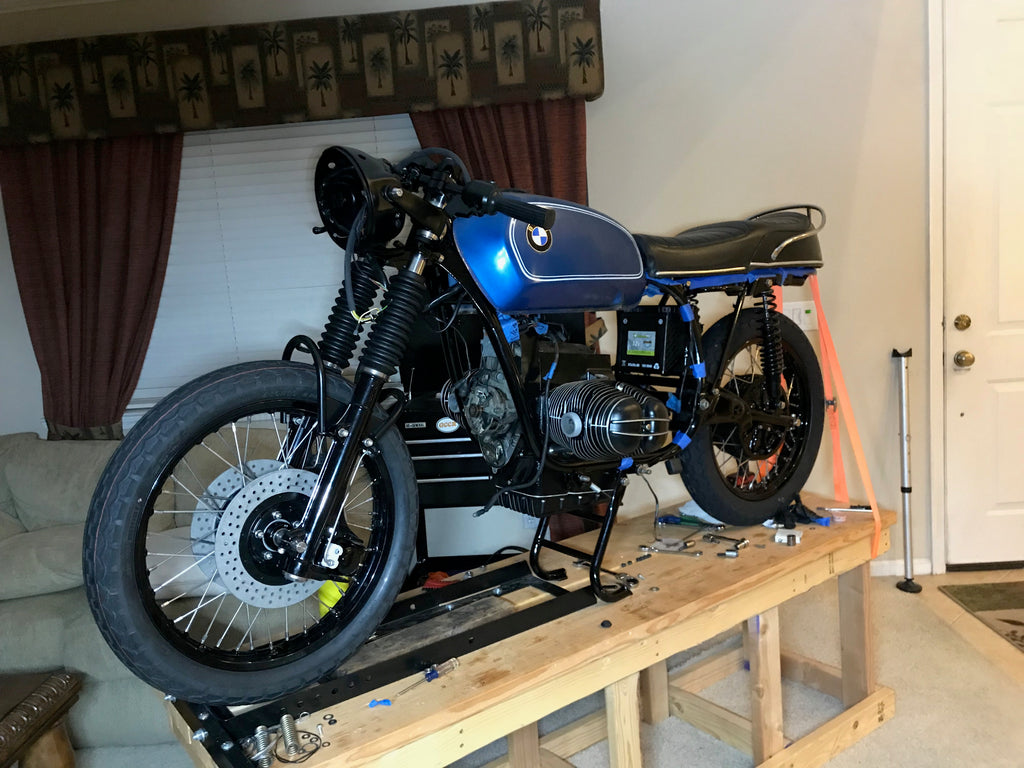
We have a 3rd tank placed on the bike used to make adjustments to the handlebars and other parts of the bike. Its also nice to see it start to look like a motorcycle again!
If you have any questions regarding the build, please don't hesitate to send me a message! Please check out our selection of Tee Shirts! The sales are much appreciated and support the pursuit of our dreams!
BIG thanks to Dan Rodarte of Gold Country Café Racers out in Rocklin California! He was instrumental in the assembly of Green Machine! Check out his website! If you're interested in commissioning a café build, contact him at:
Gold Country Cafe Racers
Paint and Pin-striping by: Ryans Workshop